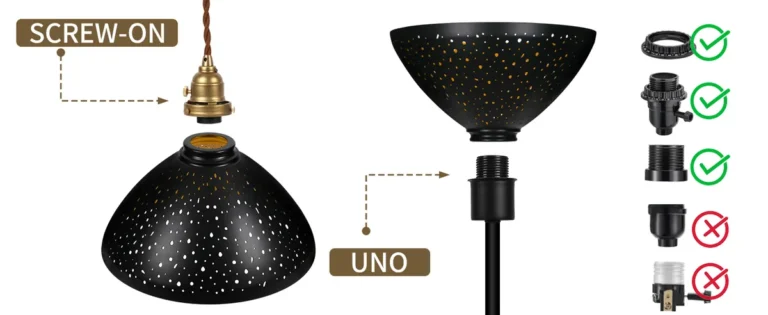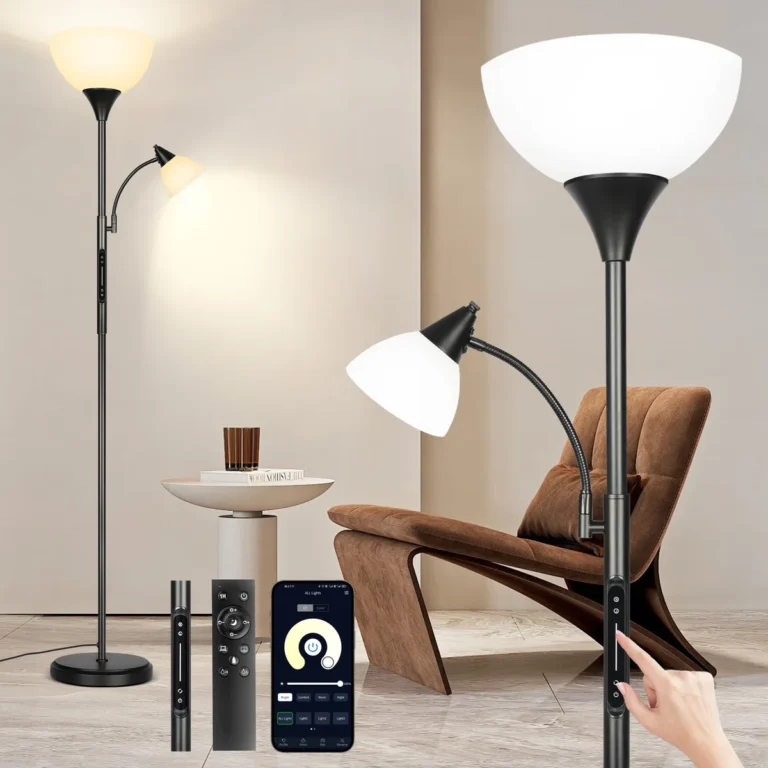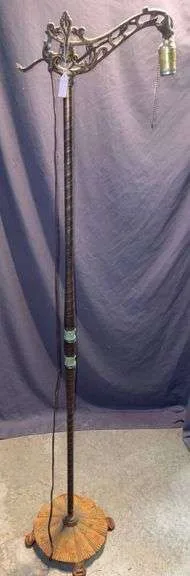
Chipped Floor Lamp Ceramic Socket: Fire Risk? How to Fix It
A chipped floor lamp ceramic socket is a common household issue most people ignore until it causes a flicker or, worse, a safety hazard. You might notice the chip after a bulb burns out, or when the lamp starts acting up for no clear reason. Many homeowners assume a small crack is no big deal, but ceramic socket damage carries real risks you can’t overlook.
Per National Fire Protection Association (NFPA) testing, damaged electrical lighting fixtures account for roughly 12% of residential electrical fires annually as of 2026. Even a hairline chip can expose live wiring or interfere with bulb contact, creating shock or fire risks. Let’s walk through exactly how to assess the damage and choose the right fix.
Chipped Floor Lamp Ceramic Socket: Fire Risk? How to Fix It
Image source: Bing (Web (fair-use with source credit))
Quick Answer
A chipped floor lamp ceramic socket needs immediate safety inspection. Small exterior chips with no exposed wiring can be repaired with heat-resistant epoxy. Chips near bulb contacts or with exposed wiring require full socket replacement.
Never use a damaged socket until it is fixed. Follow local electrical codes for all repairs.
First: Assess If Your Chipped Ceramic Lamp Socket Is an Immediate Safety Hazard
Image source: Bing (Web (fair-use with source credit))
Not all chipped ceramic lamp sockets pose the same level of risk. The two biggest factors are chip location and whether internal wiring is exposed.
A chip on the smooth outer surface, away from the metal bulb contact points, is a lower priority. If the chip is on the interior contact area, or you can see bare copper wiring inside the socket, stop using the lamp immediately.
Per National Electrical Code (NEC) requirements, all electrical connections in lighting fixtures must be fully insulated and enclosed. A chipped ceramic socket breaks that insulation, creating shock and fire risks. National Fire Protection Association (NFPA) electrical safety guidelines show damaged lighting fixtures are a leading cause of preventable residential electrical fires as of 2026.
If you notice flickering or intermittent power from the damaged socket, that’s a sign of poor contact that can cause overheating over time. If you see any exposed wiring, or the chip is in the contact zone, mark the lamp as unsafe to use until you complete a full repair or replacement.
How to Decide Between Repairing or Replacing a Chipped Socket
Image source: Web (Bing) / storage.googleapis.com (Web image (fair-use with source credit))
Choosing between repair and replacement comes down to four key factors: chip size, chip location, wiring exposure, and your lamp’s value.
If the chip is smaller than 1/4 inch, located on the exterior non-contact surface, and no wiring is visible, epoxy repair is a safe, cost-effective option. If the chip is larger than 1/4 inch, sits in the bulb contact area, or exposes bare wiring, you need to replace the entire socket.
For vintage, heirloom, or high-value designer lamps, replacement with a matching OEM socket preserves the fixture’s resale and sentimental value. For low-cost mass-market lamps, full replacement may be cheaper than sourcing a rare vintage socket. A chipped socket may also be the root cause of random power failures if your lamp has been acting up recently.
Use this quick decision guide to narrow your next step.
| Scenario | Recommended Action |
|---|---|
| Small exterior chip, no exposed wiring | Heat-resistant epoxy repair |
| Chip in contact area or exposed wiring | Full socket replacement |
| Vintage/heirloom lamp | OEM replacement socket if available |
| Low-cost mass-market lamp | Replace socket or full lamp if parts are unavailable |
Step-by-Step: Safe Ceramic Socket Repair (When It’s Approved)
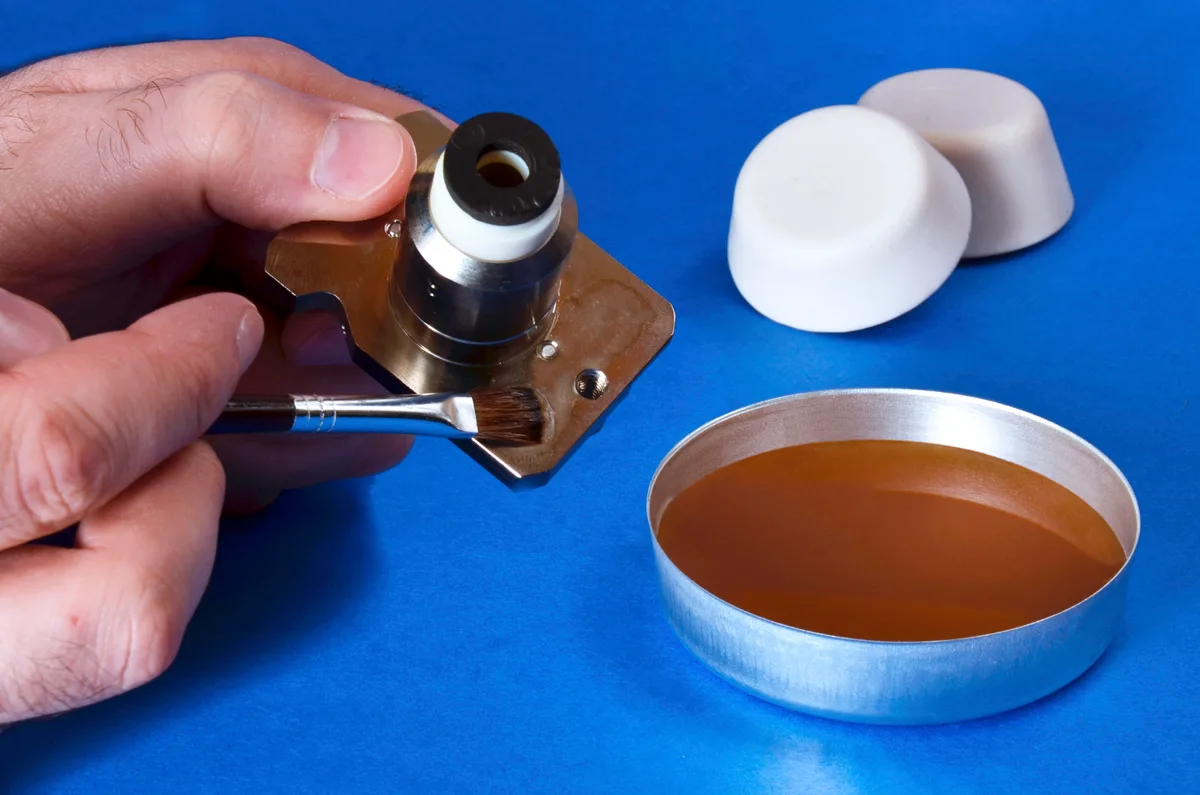
Image source: Bing (Web (fair-use with source credit))
Epoxy repair is only approved for small, exterior chips with no exposed wiring and no damage to the bulb contact points. This fix costs $5 to $15 and takes 15 to 30 minutes, plus 24 hours of cure time. Always use epoxy rated for at least 200°F (93°C) to withstand standard bulb heat.
First, unplug the lamp and disconnect it from all power sources. Remove the light bulb and unscrew the socket cover plate to access the chip.
Use a small wire brush to clean dust and debris from the chipped area, then wipe it with isopropyl alcohol to remove grease. Let the surface dry completely, about 5 to 10 minutes.
Mix the heat-resistant epoxy per manufacturer instructions, then apply a thin layer over the chip with a plastic putty knife. Smooth the epoxy to match the surrounding ceramic curve, then tape the area to hold it in place if needed.
Let the epoxy cure for 24 hours at room temperature before reattaching the cover plate, inserting a bulb, and testing the lamp. Never use a lamp with an uncured epoxy repair, as heat from the bulb can melt the adhesive. If the socket’s built-in switch is also damaged, you may need to address broken pull chain issues at the same time.
Step-by-Step: Ceramic Socket Replacement for High-Risk or Unrepairable Chips
Socket replacement is required for chips in the bulb contact area, exposed wiring, or chips larger than 1/4 inch. This fix costs $8 to $30 for parts and takes 30 to 60 minutes, and it restores the socket’s full 250V/660W safety rating. Always use a UL-listed replacement socket to ensure it meets minimum safety standards for residential use.
First, unplug the lamp and confirm power is fully disconnected with a voltage tester. Remove the bulb, socket cover, and mounting nut holding the socket to the lamp base.
Note the position of each wire connected to the socket terminals, then disconnect the wires and remove the old socket. Match the wire positions to the terminals on the new replacement socket, then secure the wires with screw terminals or push-in connectors.
Reattach the socket to the lamp base with the mounting nut, reinstall the cover plate, and test the lamp with a low-wattage bulb first. If the lamp flickers or doesn’t turn on, double-check your wire connections before using it regularly. If your lamp has a history of unexpected shutdowns, a damaged socket is a likely culprit that needs immediate attention.
While you have the lamp disassembled, it’s a good time to check for cord damage that causes intermittent power that may be hiding behind the socket.
Common Mistakes That Create Fire or Shock Risks
Even small oversights during a socket repair can turn a minor fix into a serious safety hazard. Most of these errors are easy to avoid if you follow basic electrical safety rules.
The most frequent dangerous mistake is skipping full power disconnection before touching any internal wiring. Even unplugged lamps can hold residual charge in old, degraded wiring. Always use a non-contact voltage tester to confirm no power is running to the socket before you start work.
This 10-second step eliminates shock risk entirely.
Other common errors include:
- Using standard craft epoxy instead of heat-resistant rated adhesive. Standard epoxy melts at temperatures as low as 150°F (65°C), which most incandescent and LED bulbs easily reach during normal use. A melted adhesive can expose live contacts or cause the socket to fail mid-use, creating a fire risk. Always use epoxy rated for at least 200°F (93°C) for any ceramic socket repair.
- Trying to repair chips that sit directly on the bulb contact points. Contact points carry the full electrical load of the lamp, so any adhesive in that zone degrades quickly under heat and friction. If the chip is in the contact area, full socket replacement is the only safe, code-compliant option per NFPA guidelines.
- Buying cheap, non-UL listed replacement sockets to save a few dollars. Unlisted sockets often fail to meet basic insulation and heat resistance standards, increasing fire and shock risk. Stick to sockets with visible UL or ETL certification marks for any replacement job.
- Skipping post-repair testing before regular use. This oversight can lead to failures weeks after you think the job is done. Always test the lamp with a low-wattage bulb first, checking for flickering, unusual heat near the socket, or odd smells. If you notice any of these signs, unplug the lamp immediately and recheck your wiring connections, as a damaged socket is a common cause of lamps that won’t power on.
Cost Breakdown: Repair vs. Replacement vs. Full Lamp Swap
Repair costs for a chipped ceramic socket vary based on damage severity and approach. A small exterior chip can be fixed with heat-resistant epoxy for $5 to $15. This covers adhesive and basic cleaning supplies.
Full socket replacement parts cost $8 to $30 for universal models. Vintage or OEM replacement sockets run $40 to $100 depending on the lamp’s age and rarity. Full floor lamp replacement costs $50 for basic mass-market models to $500 or more for designer or heirloom pieces as of 2026.
Time investment follows a similar pattern. Epoxy repair takes 15 to 30 minutes of active work, plus 24 hours of cure time before use. Socket replacement takes 30 to 60 minutes for most standard floor lamps.
Full lamp replacement takes 1 to 2 hours if you’re assembling a new unit from a box.
Long-term value also differs. A proper epoxy repair extends the socket’s usable life by 3 to 5 years for low-use lamps. Socket replacement restores the fixture’s full 10 to 15 year average ceramic socket lifespan, and brings the socket back to its original 250V/660W safety rating.
Full lamp replacement gives you a new fixture with a full manufacturer warranty, but you lose any sentimental or resale value of the original lamp.
| Fix Option | Parts Cost | Time Required | Expected Lifespan Extension |
|---|---|---|---|
| Heat-resistant epoxy repair | $5–$15 | 15–30 mins + 24h cure | 3–5 years (non-contact chips only) |
| Ceramic socket replacement | $8–$30 (universal) / $40–$100 (OEM) | 30–60 mins | 10–15 years (full rating restore) |
| Full floor lamp replacement | $50–$500+ | 1–2 hours (assembly) | Full new fixture lifespan |
For most standard residential lamps, socket replacement offers the best balance of cost, safety, and longevity. Epoxy repair is only cost-effective for small, non-critical exterior chips on low-value lamps.
Decision Cheat Sheet: Which Fix Is Right for Your Situation
Use this simple if/then guide to pick the right fix for your scenario in 2 minutes or less.
First, check the chip location and size. If you see exposed wiring, or the chip is in the bulb contact area, or larger than 1/4 inch, skip repair entirely and replace the socket. If the chip is small, on the exterior non-contact surface, and no wiring is visible, move to the next check.
Next, consider your lamp’s value and your skill level. If you have a vintage, heirloom, or high-end designer lamp, source an OEM replacement socket if possible to preserve original aesthetics and resale value. If you’re a renter, review your lease terms first: many leases allow minor non-structural electrical repairs, but some require landlord approval for any work on fixture wiring.
If you’re uncomfortable working with household electrical connections, hire a licensed residential lighting technician for socket replacement; epoxy repair of small exterior chips is low-risk for beginners with basic DIY skills.
If your lamp is a low-cost mass-market model, and replacement parts cost more than 25% of the lamp’s original purchase price, a full lamp swap may make more financial sense. If you’ve already tried a temporary fix like heat-resistant tape and it failed, skip straight to full socket replacement, as tape is not a code-compliant long-term solution for ceramic socket damage.
Frequently Asked Questions
Can you use a floor lamp with a chipped ceramic socket?
No, you should not use a lamp with a chipped ceramic socket until it is repaired or replaced. Even small exterior chips can crack further under bulb heat, exposing live contacts. Per NFPA safety guidelines, damaged electrical lighting fixtures must be taken out of service immediately.
You may use the lamp temporarily only if the chip is tiny, on the non-contact exterior surface, and you have a repair kit ready to apply within 24 hours.
What kind of epoxy works for ceramic lamp socket repair?
Only heat-resistant epoxy rated for at least 200°F (93°C) is safe for this repair. Standard craft epoxy melts at temperatures as low as 150°F (65°C), which standard incandescent and LED bulbs easily reach during normal use. Look for epoxy explicitly labeled for high-temperature ceramic or electrical component repairs for the longest-lasting, safest results.
How much does it cost to fix a chipped floor lamp socket?
Fixing a chipped floor lamp ceramic socket costs between $5 and $30 for most common residential lamps. Small exterior chips can be repaired with heat-resistant epoxy for $5 to $15. Chips requiring full socket replacement cost $8 to $30 for universal parts, with vintage OEM sockets costing $40 to $100 or more.
Full lamp replacement runs $50 to $500+ for mid-range to high-end fixtures as of 2026.
When should I replace a chipped ceramic lamp socket instead of repairing it?
Replace the socket if the chip is in the bulb contact area, larger than 1/4 inch, or exposes bare internal wiring. You should also choose replacement if the socket’s built-in switch is damaged, or if the lamp is a vintage model where repair would compromise safety or resale value. Replacement restores the socket’s full 250V/660W safety rating per UL testing standards.
Is repairing a chipped ceramic lamp socket safe?
Repairing a small exterior chip with heat-resistant epoxy is safe for DIYers with basic electrical skills, as long as the lamp is fully unplugged during work and no wiring is exposed. Full socket replacement is also safe for experienced DIYers, but renters or beginners may want to hire a licensed technician to ensure compliance with local electrical codes.