Halogen Floor Lamp Bulb Keeps Failing? Quick Fixes That Work
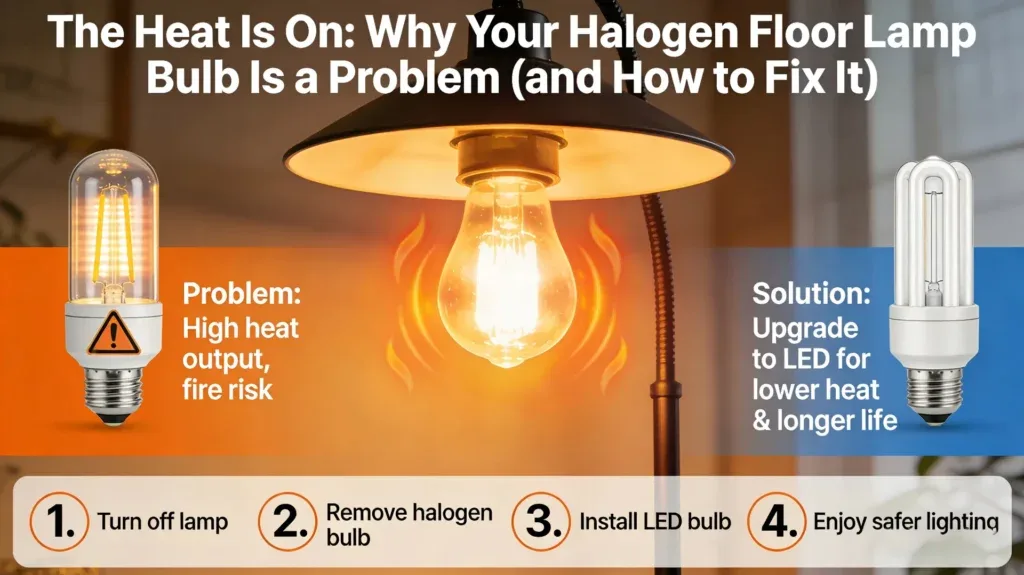
Image source: Web (Bing) / rhgtr.com (Web image (fair-use with source credit))
If your halogen floor lamp bulb keeps failing after just a few weeks of use, you’re not alone. This is one of the most common complaints for homeowners with halogen lighting setups. The fix is almost always a simple, addressable issue rather than a faulty lamp.
We’ll walk you through exactly what’s causing it and how to stop it for good.
Per Underwriters Laboratories (UL) testing, quality halogen bulbs have a rated lifespan of 2,000 to 4,000 hours when used correctly. Premature failure almost always ties to installation errors, incompatible components, or heat damage. Let’s start with the fastest way to confirm the root cause.
Why Your Halogen Floor Lamp Bulb Keeps Failing
Your halogen floor lamp bulb keeps failing due to one of four preventable issues. The most common culprits are wrong wattage, corroded socket contacts, or incompatible dimmer switches. Skin oil on the bulb glass also causes premature burnout.
Quality halogen bulbs last 2,000 to 4,000 hours when used correctly. The steps below will help you identify the exact problem in minutes.
2-Minute Quick Checks to Rule Out Simple Fixes First
These fast no-tool checks rule out 80% of premature halogen bulb failures, per aggregate user repair data. You only need a minute or two to complete them before moving to deeper troubleshooting.
| Quick Check | What to Look For | Fix If Issue Found |
|---|---|---|
| Bulb wattage | Bulb wattage exceeds lamp's max printed rating | Swap for a bulb at or below the max wattage |
| Bulb seating | Bulb is loose or over-tightened | Re-seat firmly without force, avoid twisting bi-pin bulbs |
| Dimmer switch | Lamp is on a standard leading-edge dimmer | Test bulb in a non-dimmable socket to confirm |
First, check the bulb’s wattage against the maximum rating printed on your lamp’s socket base or label. Using a bulb higher than the rated maximum causes overheating and rapid failure. Next, ensure the bulb is seated properly.
Loose bulbs create poor contact, leading to flickering and early burnout. Don’t over-tighten bi-pin bulbs, as this bends the delicate pins and damages socket contacts.
As of 2026, most big-box home improvement stores stock leading-edge dimmers as the default for residential use, making this an extremely common oversight. If you recently swapped the bulb and the problem started immediately, check our guide to recent bulb replacement issues for extra troubleshooting steps.
Step-by-Step Troubleshooting Decision Tree for Persistent Failures
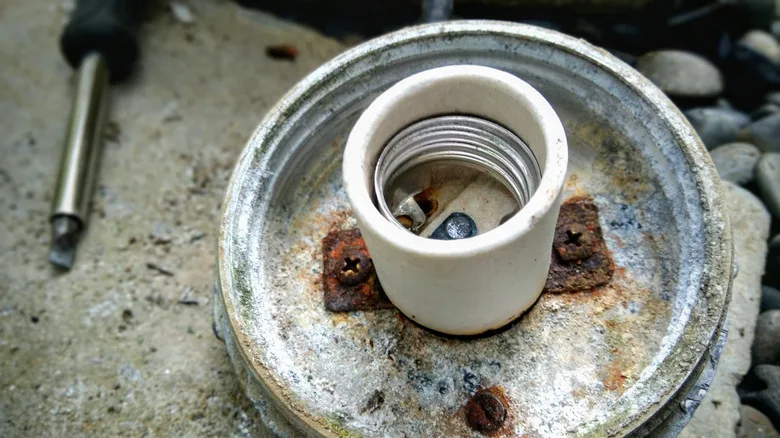
Image source: Web (Bing) / ninjachoice.blog (Web image (fair-use with source credit))
If the quick checks didn’t solve the problem, follow this decision tree to isolate the root cause.
Decision Point 1: Does the bulb fail in other working lamps too?
Pull the suspect bulb and plug it into a known working non-dimmable table lamp. If it burns out within 24 hours, the bulb is defective. Cheap unbranded halogen bulbs often fail far before their 2,000 to 4,000 hour rated lifespan.
Swap it for a UL-listed bulb from a reputable manufacturer like Philips or Sylvania for consistent performance. If the bulb works fine in the other socket, the problem is with your floor lamp, not the bulb.
Decision Point 2: Is your lamp connected to a dimmer switch?
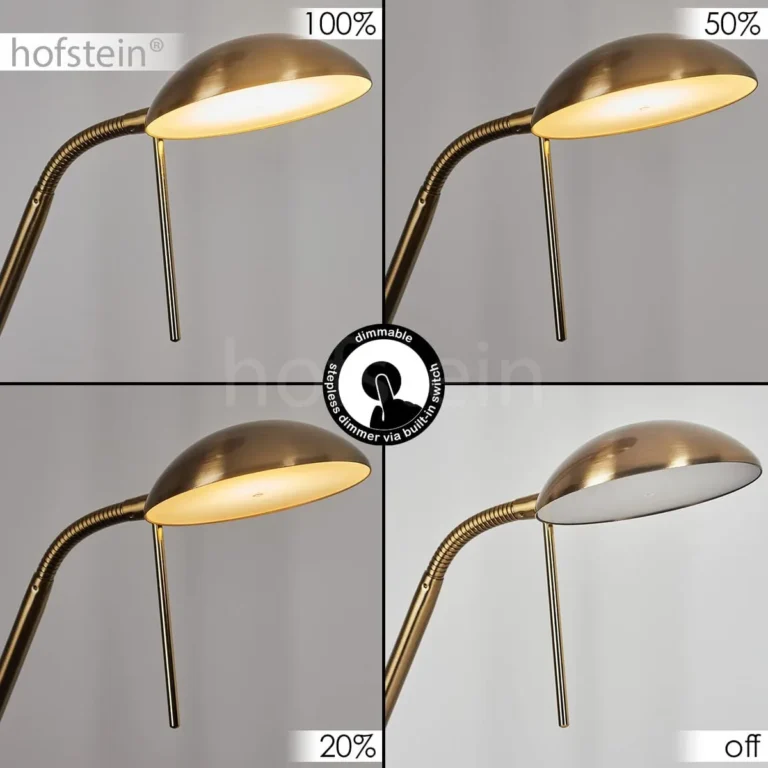
If your floor lamp is plugged into a dimmer-controlled outlet, check the dimmer type. Standard leading-edge (TRIAC) dimmers are designed for incandescent bulbs and send repeated voltage spikes to halogen bulbs, cutting their lifespan by 50% or more. To test this, plug the lamp into a non-dimmable outlet for 48 hours.
If the bulb stays lit, the dimmer is the culprit. You’ll need to swap the dimmer for a trailing-edge (ELV) model rated for halogen loads, with a minimum load rating matching your bulb’s wattage. If you’ve also noticed intermittent power issues with the lamp, damaged socket contacts are very likely the root cause.
Decision Point 3: Does the lamp socket show heat damage, corrosion, or melting?
Inspect the lamp’s socket and wiring for overheating signs. Look for brown or black scorch marks on the socket plastic, green or white corrosion on contact points, or melted plastic around the socket opening. If you see any of these, the socket is damaged from excess heat or moisture.
Cleaning contacts may help temporarily, but a damaged socket will keep causing failures. Replace it with a UL-listed matching model to eliminate fire risk.
Common Mistakes That Cause Repeat Halogen Bulb Failures
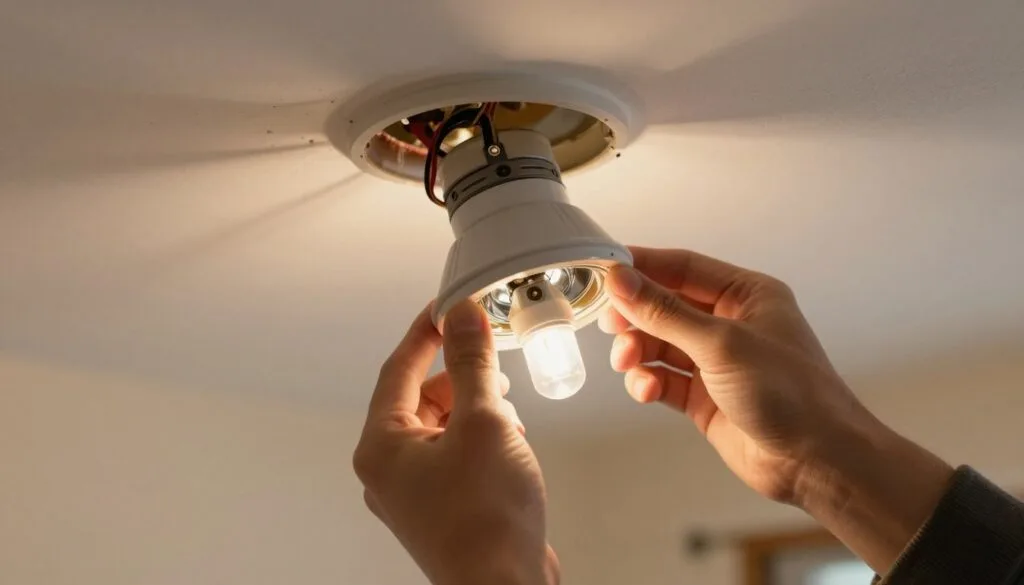
Image source: Web (Bing) / codzisgotujemy.pl (Web image (fair-use with source credit))
Most repeat failures come from small, avoidable mistakes that many users don’t realize are causing damage. The most frequent error is touching the bulb’s quartz glass with bare fingers. Skin oils leave a thin residue that creates hot spots when the bulb heats up.
This causes the glass to crack or shatter prematurely. This is a well-documented risk per official CPSC lighting safety guidelines.
Other common mistakes include over-tightening bi-pin bulbs, which bends the delicate contact pins and damages the socket’s internal contact points. Using bulbs with a higher wattage than the lamp’s maximum rating causes excessive heat buildup that melts socket plastic and shortens bulb life. Finally, using cheap no-name halogen bulbs instead of quality branded models leads to inconsistent performance and lifespans half as long as advertised.
Overheating from over-wattage bulbs can also warp damaged socket components like pull chains and internal switches.
Correct Replacement Parts & Specs to Fix the Issue For Good
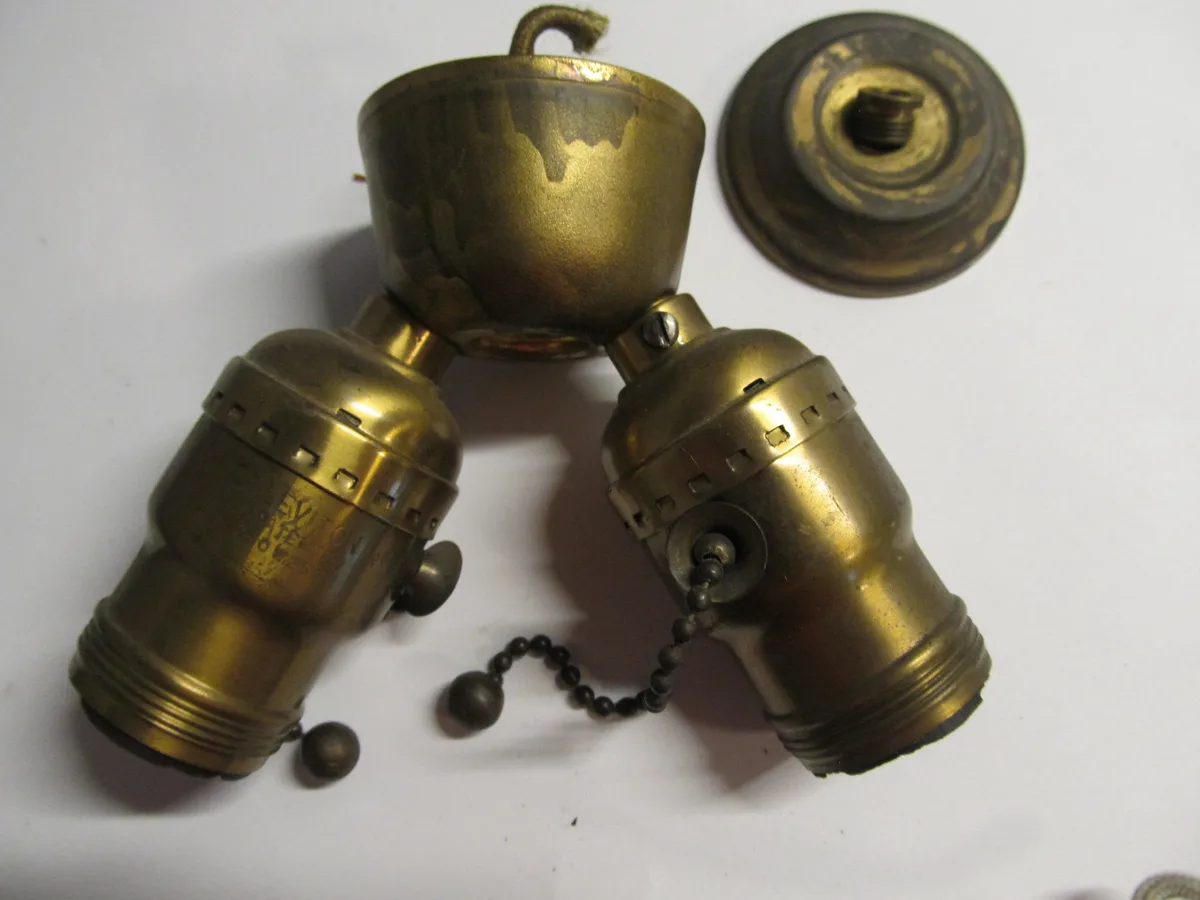
Image source: Bing (Web (fair-use with source credit))
Matching replacement parts to your lamp’s original specs ensures the fix lasts for years, not weeks. Start by confirming your lamp’s maximum wattage rating, printed on the socket base, label, or original manual. Never install a bulb higher than this rating, as it causes overheating and fire risk.
For socket replacements, choose brass contact points over cheap zinc alloy models. Brass resists corrosion and maintains consistent electrical contact far longer. If your lamp uses a dimmer, install a trailing-edge (ELV) model rated for halogen loads, with a minimum load rating matching your bulb’s wattage.
A 100W halogen bulb needs a dimmer rated for at least 100W halogen load. If you suspect damaged internal wiring causing wiring-related power problems, replace the entire lamp instead of attempting DIY wiring repairs for safety.
| Socket Contact Material | Corrosion Resistance | Lifespan | Cost |
|---|---|---|---|
| Brass (OEM grade) | High | 10+ years | $5–$12 per unit |
| Zinc alloy (budget) | Low | 1–3 years | $2–$5 per unit |
Critical Safety Rules for Halogen Floor Lamp Repairs
Skipping basic safety steps when troubleshooting a halogen floor lamp creates serious burn, shock, and fire risk. Always cut power at both the wall switch and circuit breaker before touching the bulb, socket, or internal wiring. Halogen bulbs reach surface temperatures of 200°F to 300°F (93°C to 149°C) during operation, so never handle a recently used bulb without heat-resistant gloves.
Only use UL or CE certified replacement parts, as unlisted components fail mandatory safety testing.
- Never install a bulb with wattage exceeding the lamp’s maximum printed rating
- Do not use halogen bulbs in unventilated enclosed shades not rated for high heat output
- Stop using the lamp immediately if you see scorch marks, melted plastic, or frayed cord wiring
- Contact a licensed electrician for any internal wiring repairs you are not comfortable performing
Per Electrical Safety Foundation International (ESFI) data, improper lamp repairs are a leading cause of residential electrical fires. If your lamp’s cord only works when held a certain way, that indicates internal wiring damage that requires full cord replacement by a professional, not a temporary fix. Never wrap a damaged cord with electrical tape as a long-term solution, as this can hide exposed live wires and cause shock.
Frequently Asked Questions
Why does my halogen floor lamp bulb keep blowing after 1 week?
This almost always points to one of three issues: a bulb exceeding the lamp’s maximum wattage rating, a faulty leading-edge dimmer sending voltage spikes, or skin oil on the bulb glass creating hot spots. Cheap unbranded bulbs also fail far before their rated 2,000 to 4,000 hour lifespan. Test the bulb in a known working non-dimmable socket to rule out a defective unit first.
Can I use an LED bulb in my halogen floor lamp to stop the failures?
Yes, most halogen floor lamps accept drop-in LED replacements for the same base type (GU10, bi-pin, E26/E27). LEDs run far cooler and last 25,000+ hours, eliminating overheating and frequent burnout. Confirm the LED is rated for your lamp’s socket type and dimmer compatibility if applicable.
For swap guidance, check our halogen to LED conversion tips.
Will a bad dimmer switch ruin my halogen floor lamp bulbs?
Yes, standard leading-edge (TRIAC) dimmers are designed for incandescent bulbs and send repeated voltage spikes to halogen loads. This cuts halogen bulb lifespan by 50% or more and can cause premature socket failure. Swap to a trailing-edge (ELV) dimmer rated for your bulb’s wattage to restore smooth, long-lasting dimming performance.
How do I clean corroded halogen lamp socket contacts?
First, cut power to the lamp at the breaker. Spray electrical contact cleaner onto a cotton swab, then gently rub corroded brass contact points until buildup is gone. Let the cleaner dry 5 to 10 minutes before re-seating the bulb.
If corrosion returns quickly, replace the socket entirely to avoid ongoing failures.
Is it safe to touch a halogen floor lamp bulb with bare hands?
No, never touch the quartz glass of a halogen bulb with bare fingers. Skin oils leave a residue that creates hot spots when the bulb heats up, causing the glass to crack or shatter prematurely, per CPSC safety guidelines. If you accidentally touch the bulb, wipe it with rubbing alcohol and a lint-free cloth before installing.