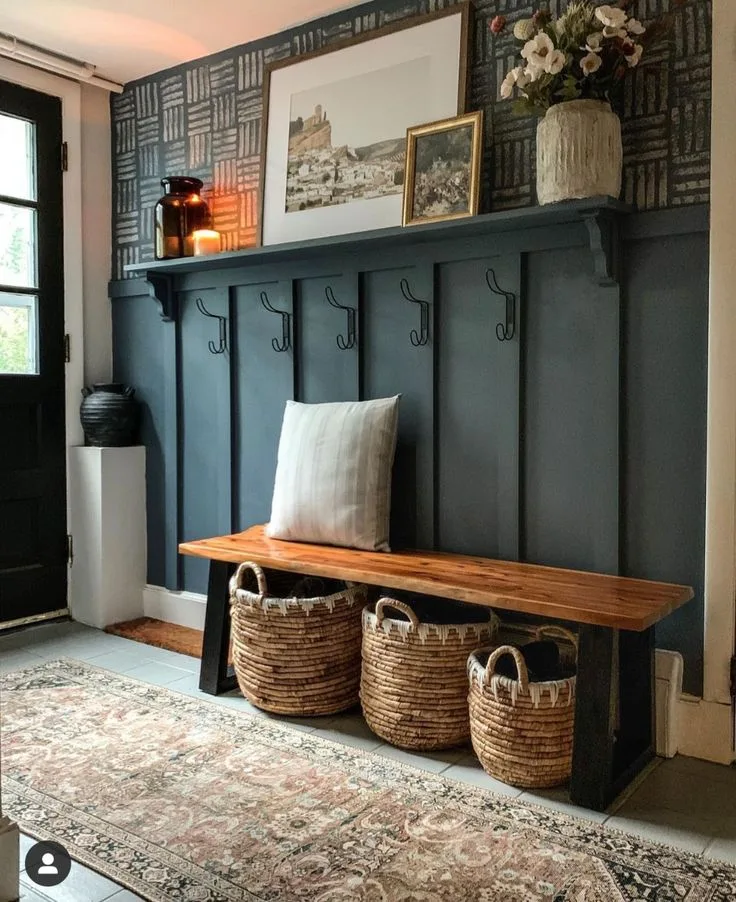
Staircase Wall Painting Design Ideas to Elevate Your Home with Artistic Style
Let’s talk about that tall, blank wall in your stairwell. It’s one of the most dramatic and underused canvases in your entire home. A thoughtful staircase wall painting design can completely transform the feeling of your entryway, connecting multiple floors with a single visual statement.
It’s a design opportunity that many people hesitate to tackle because the scale feels intimidating.
The good news is the core process is the same as painting any other wall, surface prep, primer, paint. The real trick lies in the planning. You need to account for ladder safety, the way light changes from top to bottom, and choosing a finish that can stand up to constant traffic.
Manufacturer paint coverage specifications indicate one gallon typically covers 350 to 400 square feet, but you’ll want to factor in extra for the primer coat and the taller-than-average walls. So let’s break down how to approach this project from the ground up, making sure your vision looks even better in reality.
Quick Answer
The best staircase wall painting design makes a bold visual statement while considering safety and durability. Start by choosing a durable satin or semi-gloss finish to resist scuffs. Light colors make narrow stairs feel wider.
Darker colors or dramatic stripes add height. Use a high-quality primer and paint from top to bottom. Always secure your ladder properly.
A well-planned design turns a forgotten wall into your home’s focal point.
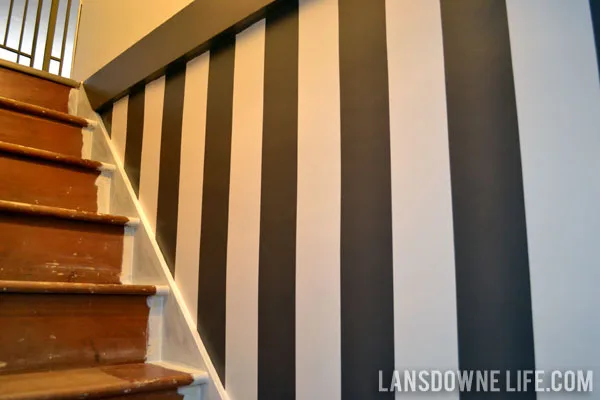
Image source: Bing (Web (fair-use with source credit))
The Real Challenge of a Staircase Wall
That stairwell wall isn’t just another surface. It’s a vertical corridor that everyone passes through, often brushing against it. It’s usually tall, sometimes awkwardly shaped with angles from the stairs, and the lighting is almost always terrible, a single fixture at the top or bottom leaves the middle in shadow.
Those shadows and angles exaggerate every imperfection. A tiny bump you’d never see on a living room wall becomes a noticeable flaw when a raking light from a window hits it. This means your surface preparation has to be flawless.
The high-traffic nature also demands a paint finish that’s tougher than what you’d use in a low-key bedroom. You’re not just picking a color, you’re solving a spatial and functional puzzle. Our research into common DIY regrets shows that skipping prep or choosing the wrong sheen here leads to the most frustration down the line.
What Good Design Actually Does in Your Stairwell
Think of your stairwell as more than a passageway. It’s a transition zone and a natural focal point. A strong design does three key things.
First, it manipulates perception. Vertical stripes or a single dark accent color can make the ceiling feel miles higher. A light, bright palette can make a claustrophobic stairwell feel airy and open.
Second, it creates flow. A well-considered color can visually connect the decor themes from your first floor to your second, creating a cohesive feel throughout your home. Finally, it adds personality to a space that’s often sterile.
It’s a chance to take a risk with a color or pattern you might not use in a main living area, adding character without overwhelming daily life. It turns a purely functional area into a considered part of your home’s aesthetic. This principle of using paint to define transitional spaces works beautifully in other areas too, like creating a bold statement on a modern barndominium design exterior or setting the tone in an entryway.
Your First Decision: Paint, Wallpaper, or Something Else?
Before you pick a color, you need to pick your medium. For a staircase wall, you’re generally choosing between paint and wallpaper. Each has its place, but for most DIYers, paint is the clear, manageable winner.
Let’s break down why.
Why Paint Wins for Most DIY Projects
Paint is forgiving, changeable, and far less technically demanding on a tall, potentially uneven surface. It’s easier to touch up when (not if) it gets scuffed. You can work in manageable sections over multiple days without worrying about pattern matching.
The material cost is lower, and the tools are simple: brushes, rollers, a ladder, and tape.
Most importantly, paint gives you complete control over color. You can custom-mix exactly the shade you want, or create crisp geometric patterns with painter’s tape. The learning curve is shallow.
If you hate it, a couple of coats of primer and a new color fix the problem. For a durable, versatile, and DIY-friendly solution, paint is almost always the right call for a staircase project.
When Wallpaper is Worth the Risk
Wallpaper can create an incredible, textured look that paint simply can’t replicate. A large-scale botanical print or a subtle grasscloth can be stunning. However, the challenges are significant.
Hanging wallpaper on a tall wall, especially around corners and sloped ceilings, is a pro-level skill. Matching patterns across multiple drops is stressful.
The bigger issue is commitment and maintenance. It’s harder to install, vastly more difficult to remove, and nearly impossible to patch seamlessly if it gets damaged. If your heart is set on wallpaper, consider using it on a stairwell’s focal wall only if you have relatively straightforward, flat surfaces and are either highly skilled or hiring a professional.
For a similar textured effect with less risk, explore paint techniques like color washing or using a high-quality lime wash product.
How Light and Space Dictate Your Color Choice
You can’t pick a color from a tiny chip and expect it to work in your stairwell. The light in that space is its own beast. North-facing stairwells get cool, indirect light, making colors look grayer.
South-facing ones get warm light that intensifies warm tones. And the artificial lighting you use at night will completely shift the color again.
The cardinal rule? Always, always test your paint color on the actual wall. Paint a two-foot by two-foot section at the top, middle, and bottom of the stairwell.
Look at it in the morning, afternoon, and with your lights on at night. Live with the samples for a couple of days. You’ll be shocked how different a color can look from floor to floor.
This step prevents the most common regret: choosing a color that looks perfect in the kitchen but turns muddy or neon in the stairwell.
Tricks for a Dark or Narrow Stairwell
If your stairwell feels like a cave, your goal is to reflect as much light as possible. Go for light, warm neutrals like creamy off-whites, very pale greiges, or soft, barely-there blues. Avoid cool, stark whites as they can feel sterile and hospital-like in a dark space.
A satin or eggshell finish will reflect more light than a flat matte, helping to bounce what little light you have around the space.
You can also use a monochromatic scheme. Paint the wall, trim, and ceiling all the same light color. This eliminates visual boundaries and makes the space feel larger and less segmented.
If you want a bit of drama, add it with your lighting fixture, not the wall color. A great light fixture is functional art that draws the eye upward.
Making the Most of High Ceilings
Got a soaring, two-story stairwell? This is your chance to go bold. Dark, moody colors like charcoal, navy, or forest green lean into the drama and make the space feel intimate and cozy rather than cavernous.
Deep colors are a hallmark of moody bedroom decor for the same enveloping effect.
Another powerful trick is to use a gradient, or ombre. Start with a darker shade at the bottom and blend to a lighter version of the same color at the top. This plays with perception and adds incredible, custom-looking depth.
You can also use vertical stripes in varying widths or a bold geometric pattern to emphasize the height. Just remember, dark colors show every imperfection, so flawless surface prep is non-negotiable.
Seeing Your Options: 6 Design Approaches
Now for the fun part. Let’s look at specific design strategies. The key with any of these is to visualize them in your space.
Use painter’s tape to mock up stripes or blocks on the wall before you buy a single gallon. Seeing the scale in person is everything.
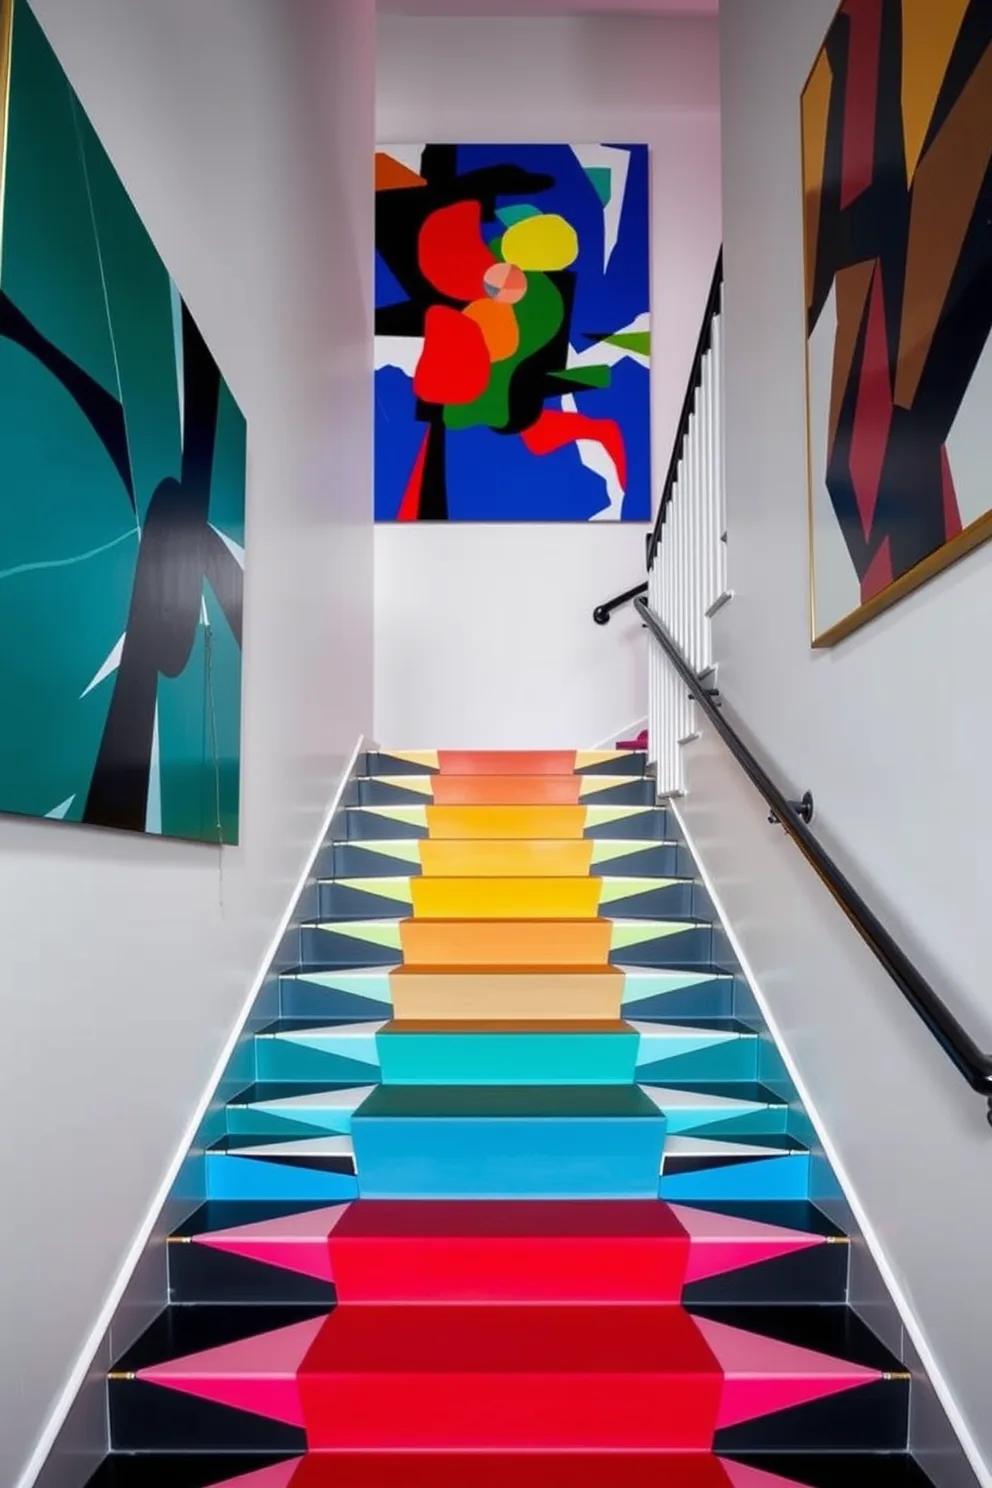
Image source: Bing (Web (fair-use with source credit))
The Vertical Stripe (and How to Keep It Straight)
Vertical stripes are a classic for a reason, they effortlessly add height. You can do subtle tonal stripes (two shades of the same color) or high-contrast bold ones. The width is crucial: very thin stripes can look busy and hard to paint, while very wide ones can feel unbalanced.
A good starting point is stripes between 6 and 12 inches wide.
The pro secret isn’t just painter’s tape, it’s a laser level. Tape can wiggle, but a laser line projected down your wall is perfectly straight. Apply your tape to the outside of where you want your stripe to be, then seal the tape edge with a thin coat of your base wall color.
This seals the tape and prevents the second color from bleeding under, giving you razor-sharp lines. This technique requires patience but delivers a professional result.
Strategic Color Blocking for Impact
Instead of stripes, think shapes. Color blocking uses large, geometric fields of color to create a modern, graphic look. You might paint the lower two-thirds of the wall a deep color and the top third a crisp white, with the dividing line aligning with a stair landing.
Or create a series of ascending rectangles up the wall.
This approach is great for highlighting architecture. Frame a window or an alcove with a contrasting block. The most important tip here is to plan your blocks in proportion to the wall.
Use the golden ratio (about 1:1.618) as a guide for pleasing proportions, rather than just splitting the wall in half. Always tape off and paint the lighter color first, then apply the darker color over it.
The Full-Height Accent Wall
This is the simplest visual approach: one bold color on the main stair wall, with the other walls and ceiling a neutral. It’s incredibly effective. The color becomes the star.
This works beautifully with rich, saturated hues like emerald green, terracotta, or a deep blue.
To keep it from feeling too heavy, let the color flow. Don’t stop at a corner if it feels natural to wrap it around to a small adjoining wall. Make sure your trim color is intentional, either match it to your neutral walls for definition, or paint it the same as the accent color for a more seamless, modern look.
This bold single-wall strategy can define other spaces, too, like creating a focal point in a barndominium bathroom.
The Subtle Ombre or Gradient
An ombre effect, fading from dark to light, is a showstopper that looks custom and expensive. It’s easier than you think with the right tools. You’ll need at least three pre-mixed shades from the same color family (e.g., light, medium, and dark sage).
Paint the entire wall the lightest shade as your base. Once dry, mark horizontal bands on the wall for each color transition. Starting at the bottom, paint the darkest shade, blending upward into the middle shade while the paint is still wet using a dry, clean brush in a light “X” motion.
Repeat the process blending the middle shade into the top light shade. It requires a bit of practice on a spare board first, but the ethereal result is worth it.
Playing with Geometric Patterns
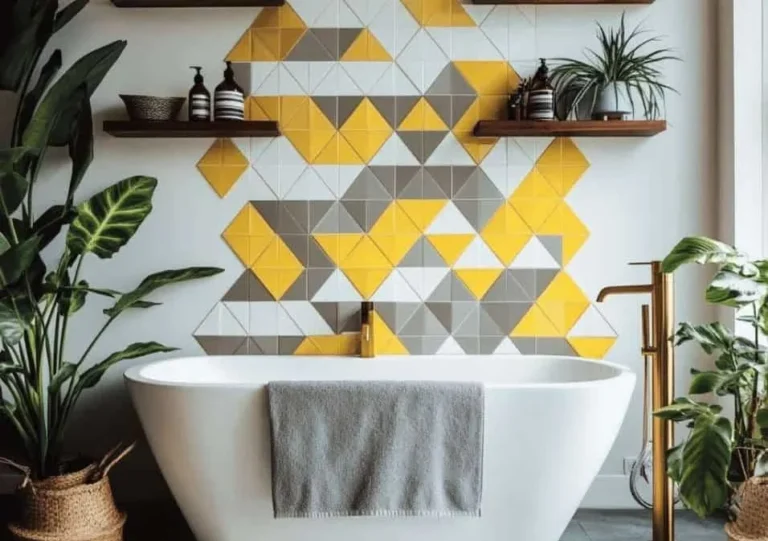
For the detail-oriented, geometric patterns like chevrons, triangles, or overlapping squares add incredible energy. This is an advanced technique that lives and dies by precise planning and taping.
Always start with a scaled drawing. Grid your wall out lightly in pencil using a level and measuring tape. Your pattern should be symmetrical and centered.
Use frog tape for sharp edges, and remember the seal-the-edge trick with your base coat. Patience is the key ingredient here. Rushing the taping stage guarantees a messy result.
The Stairwell Mural: Scaling Up Your Artwork
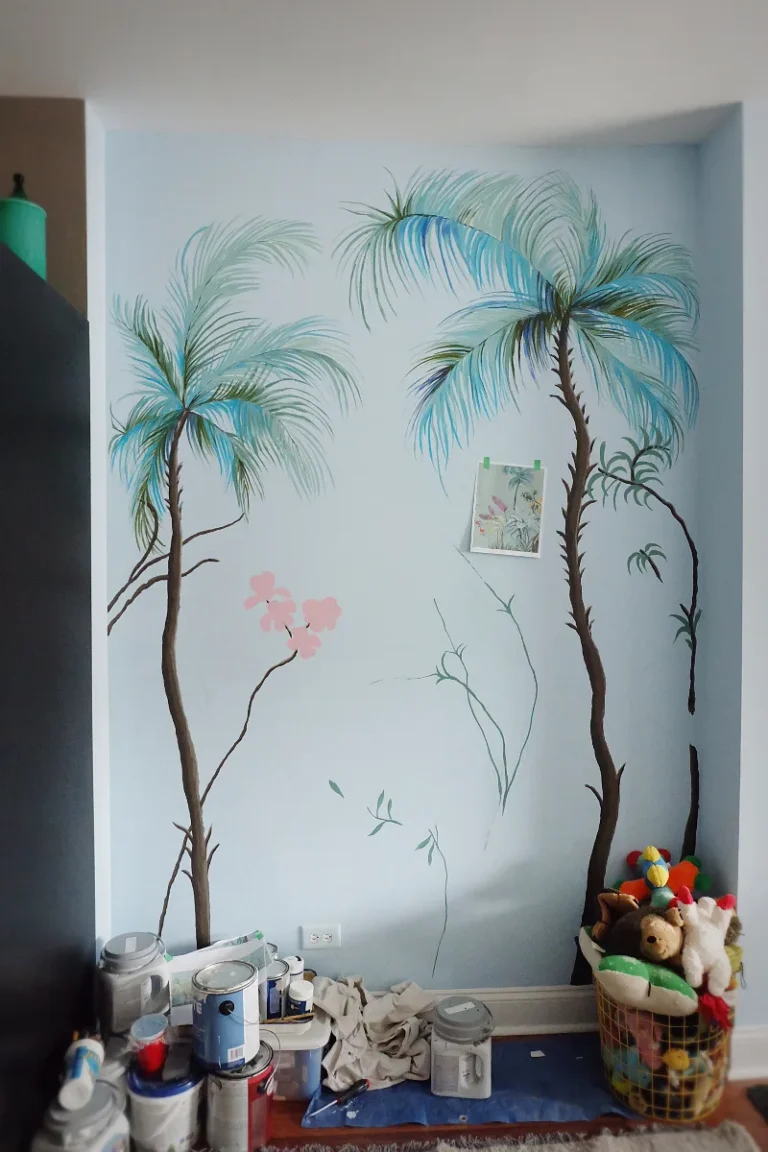
A hand-painted mural or a large-scale wall decal can tell a story. This could be a simple, abstract shape, a mountain scene, or a oversized botanical. The number one rule is scale.
A tiny, intricate design will get lost. You need simple, bold shapes that read clearly from the bottom of the stairs.
If you’re not an artist, use a projector. Sketch your design on paper, project it onto the wall at night, and trace the outlines in pencil. Then, paint inside the lines like a giant coloring book.
For a less permanent option, look into high-quality, peel-and-stick wall murals designed for renters. Just ensure the surface is smooth and clean for application.
The Hardware and Paint That Won’t Let You Down
Don’t skimp on materials here. A cheap roller cover will leave lint on the wall. Low-quality tape will bleed.
The right tools make the job faster, safer, and give you a pro-quality finish that lasts. Let’s talk about what to buy.
Choosing the Right Sheen for High Traffic
The sheen, or shine, of your paint is a functional choice, not just a stylistic one. Flat or matte finishes hide wall imperfections well, but they’re hard to clean. In a high-traffic stairwell, that’s a problem.
Every handprint and scuff will show.
A satin finish is the sweet spot for most stairwells. It has a soft, pearl-like glow that reflects light beautifully. It’s also durable and easy to wipe down with a damp cloth.
For areas that get the most contact, like next to a handrail, a semi-gloss is even tougher. It has a more noticeable shine, so it highlights wall texture. Eggshell is another good option, offering slightly more shine than flat but less than satin.
Manufacturer guidelines as of 2026 confirm that higher-sheen paints have more resin, creating a harder, more scrubbable surface.
Ladders, Tape, and Tools You Actually Need
Your tool kit determines your success. For the ladder, a sturdy multi-position ladder is ideal. It can be an A-frame for lower sections and convert to a straight extension ladder for the highest reaches.
Never stand on the top two rungs.
For tape, invest in a premium painter’s tape designed for sharp lines. Apply it to clean, dry surfaces and press the edge down firmly. A basic 5-in-1 tool is perfect for scraping old paint, opening cans, and prying lids.
Use a high-quality angled brush for cutting in around trim and a 9-inch roller frame with a 3/8-inch nap roller cover for the main walls. This nap length holds plenty of paint and works well on most wall textures.
The Step-by-Step Painting Process for Tall Walls
This is where planning pays off. Working top to bottom is the golden rule. Gravity is your friend for drips, not your enemy.
Start with a clean, repaired, and primed surface. Let’s walk through the sequence.
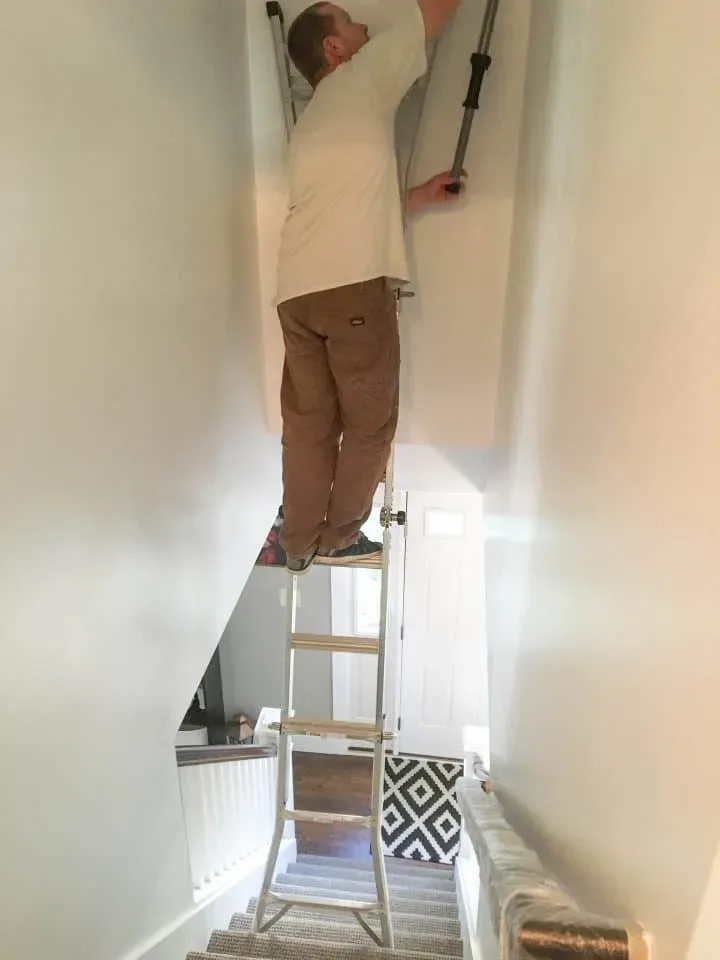
Image source: Bing (Web (fair-use with source credit))
Surface Prep You Can’t Skip
Wash the walls with a trisodium phosphate (TSP) substitute to cut through grease and grime. Rinse well. Fill any holes or cracks with spackle.
Sand the entire wall lightly with 120-grit sandpaper to knock down any gloss and create a surface the primer can grip. This step is non-negotiable.
Wipe down all the dust with a damp tack cloth. Then apply a stain-blocking primer, especially if you’re covering a dark color or any water stains. Primer ensures true color, better adhesion, and maximum durability.
It’s the foundation your beautiful finish sits on.
The Safe Way to Reach High Corners
Safety is the priority. Set your ladder on a level surface. Use a ladder stabilizer if you have one.
It spans the wall and prevents side-to-side wobble. Always maintain three points of contact: two feet and one hand, or two hands and one foot, on the ladder.
Paint the highest sections you can safely reach from the ladder. Work in manageable, overlapping “W” or “M” shapes with your roller to avoid leaving marks. Then move the ladder down and overlap your next section into the wet edge of the previous one.
Don’t try to stretch to reach an area. It’s better to move the ladder ten times than to fall once. The Occupational Safety and Health Administration provides clear guidelines for safe ladder use that are worth reviewing.
Cutting In, Rolling, and Avoiding Lap Marks
First, “cut in” all the edges with your angled brush. This means painting a 2-3 inch band along the ceiling, corners, and trim. Do this for the entire height of the wall before you start rolling.
It’s tedious, but it creates a guide for your roller.
When rolling, work in sections about 3 feet wide. Load your roller evenly. Roll on the paint in a “W” pattern without lifting the roller, then fill it in with vertical strokes.
Keep a “wet edge.” This means you always roll back into the area you just painted before it starts to dry. This is the only way to prevent lap marks, those ugly stripes where the paint layers overlap unevenly because one section dried before you blended it.
The 5 Most Common Visual Mistakes (And How to Dodge Them)
We see the same errors again and again. Knowing them in advance lets you sidestep frustration and wasted paint.
First, not buying enough paint. Running out halfway through a wall means you’ll have to try to color match a new can, which is nearly impossible. Always buy 10-15% more than you calculate.
Second, painting over dirty or glossy walls. The paint will chip and peel. Proper cleaning and light sanding are essential.
Third, using the wrong brush or roller. A cheap brush sheds bristles and won’t hold a sharp line for cutting in. A low-nap roller won’t hold enough paint for textured walls.
Fourth, rushing the tape removal. Pull the tape off slowly at a 45-degree angle while the paint is still slightly tacky, not bone dry. If you wait days, the paint film can tear.
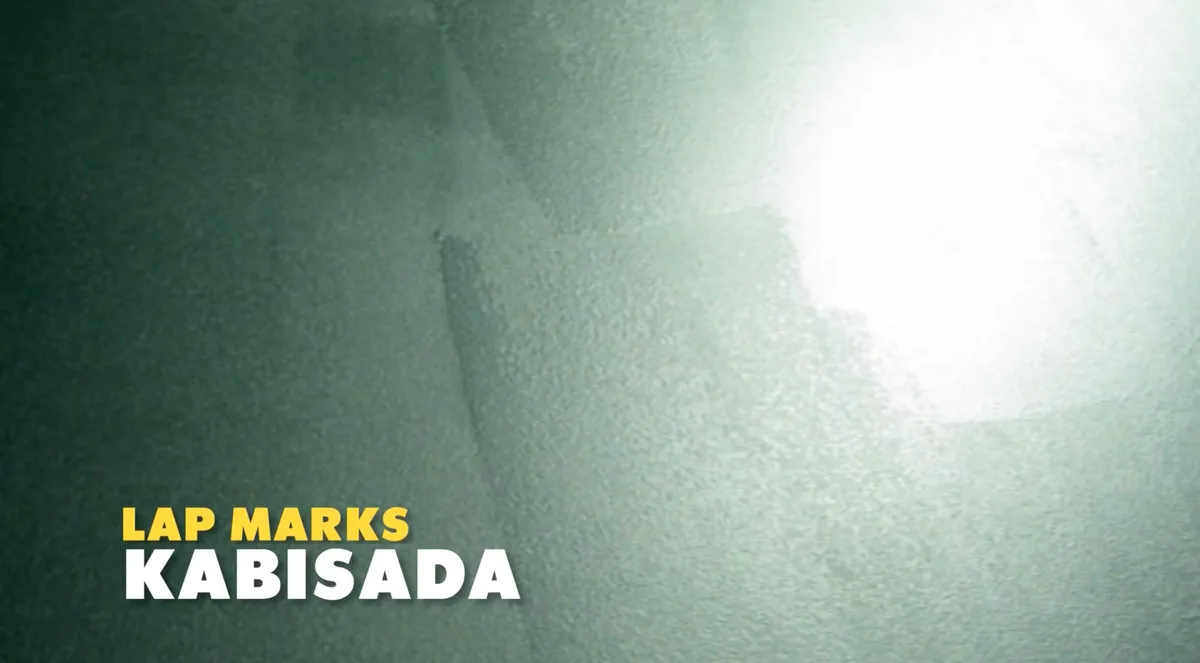
Image source: Bing (Web (fair-use with source credit))
Finally, the biggest visual mistake is poor lighting while you work. If your stairwell is dark, bring in bright, portable work lights. You need to see every drip, missed spot, and uneven application in real time.
Painting in the dark guarantees a patchy finish you’ll only see the next day.
Budget, Time, and Paint Quantity: The Real Numbers
Let’s get concrete. A realistic budget and timeline prevent project burnout. For a standard two-story stairwell wall (roughly 12 feet high by 15 feet wide, or 180 square feet of wall space), here’s a breakdown.
| Item | Estimated Cost | Notes |
|---|---|---|
| Premium Paint (1.5 Gallons) | $75 – $120 | Covers 180 sq. ft. with two coats, plus extra. |
| Primer (1 Gallon) | $25 – $40 | One coat is sufficient over prepared drywall. |
| Painter’s Tape, Brushes, Rollers | $30 – $50 | Invest in quality. Reusable for future projects. |
| Sandpaper, Spackle, Cleaner | $15 – $25 | Basic prep materials. |
| Total DIY Cost Range | $145 – $235 | Excluding ladder rental/purchase. |
Time is the other factor. Prep (cleaning, patching, sanding, taping) will take a full day. Priming and first coat of paint: one day.
Second coat and final touch-ups: another day. Always allow the full manufacturer-recommended dry time between coats, usually 2 to 4 hours. The paint will then need about 30 days to fully cure and reach maximum durability before you can wash it.
Hiring a professional painter will typically cost between $400 and $800 for this specific job, depending on your location, the complexity of the design, and the prep work required. They can do it faster, but the DIY savings are significant if you have the time and follow the safety steps.
Expert Tips for a Pro Finish on a DIY Budget
A few insider tricks can elevate your project from “looks okay” to “looks amazing.” First, use an extension pole for your roller. It lets you paint the middle of the wall comfortably from the stairs or a lower ladder position, reducing constant ladder moves. It also gives you better leverage for smooth, even pressure.
Second, pour your paint into a 5-gallon bucket with a roller grid, not a tray. A bucket holds more paint, so you refill less often. The grid lets you evenly distribute paint on the roller without drips.
This is a game-changer for keeping a wet edge on large surfaces.
Finally, consider the lighting fixture as part of the design. A new, eye-catching light can draw attention upward and complement your wall color beautifully. It’s a functional upgrade that completes the space’s new look.
Safety First: Ladder Work and Lead Paint in Old Homes
This section isn’t optional. The single biggest risk in this project is a fall. Always have someone home with you while you’re on the ladder.
They don’t need to help paint, but they need to be there in case you need assistance.
Check the ladder’s weight rating and ensure all locks are fully engaged. Never lean out to the side. If you can’t reach it comfortably, get down and move the ladder.
It feels inefficient, but it’s the only safe method. For very high walls, consider renting scaffold planks. They provide a stable, level platform.
If your home was built before 1978, assume the existing paint contains lead. Sanding or scraping it creates hazardous dust. The EPA’s Renovation, Repair and Painting (RRP) Rule requires certified professionals for this work unless you are the homeowner doing it yourself in your own home.
If you DIY, you must follow lead-safe work practices: seal the area with plastic, use a HEPA vacuum, and avoid dry sanding. It’s often wiser and safer to hire a certified pro for prep in older homes.
Your Decision Guide: Matching a Design to Your Home
Let’s make the final choice simple. Ask yourself three questions. First, what’s the primary feeling you want?
Airy and open, cozy and dramatic, or energetic and modern?
Second, what’s your skill and patience level? A solid accent wall is beginner-friendly. Crisp stripes require more precision.
A complex mural demands advanced skill or a projector.
Third, how does the stairwell flow from the rest of your home? The color should feel like a natural progression from your adjacent rooms, not a jarring disconnect. Pull a tone from your existing decor for a cohesive look.
Here’s a quick cheat sheet:
- For a dark, narrow space: Light, warm neutral (eggshell or satin). Consider a monochromatic scheme.
- For high ceilings and drama: Deep accent color (satin or semi-gloss). Vertical stripes or an ombre effect.
- For modern, graphic impact: Bold color blocking or geometric patterns.
- For high traffic and kids: Durable satin finish. Lighter, scuff-forgiving colors.
- For a rental or low-commitment: Removable wall decals or a simple, classic color you love.
Trust your instinct. The best design is one that makes you smile every time you walk up the stairs.
Frequently Asked Questions
How do I paint behind a stair railing?
Use a small, angled trim brush. For tight spaces between balusters, a radiator roller (a small, skinny roller) can help. Take your time.
It’s often easier to lightly sand and touch up the railing after the wall is done than to try to perfectly cut in around every spindle.
Can I use the same paint for the ceiling in the stairwell?
You can, but you shouldn’t. Ceilings typically use a flat, white ceiling paint. It’s formulated to minimize glare and hide imperfections overhead.
Using wall paint on a ceiling, especially a satin or semi-gloss, will highlight every flaw and can feel visually heavy.
What if my walls are textured?
Texture adds character but drinks paint. Use a roller with a thicker nap (1/2-inch or 3/4-inch) to get into all the grooves. You will likely need more paint.
A thick-nap roller holds more paint and ensures complete coverage on knockdown or orange peel textures.
How do I choose a color that looks good at the top and bottom?
This is why sampling is non-negotiable. Paint large swatches at both levels. The color will look different.
Choose the shade you prefer in the area where you’ll view it most. Often, that’s from the bottom looking up. The top section, seen from below, will naturally appear slightly darker or more muted.
Is a paint sprayer a good idea for a stairwell?
Only if you are highly experienced and can create a near-perfect containment zone. Overspray will coat your stairs, handrail, and light fixtures in a fine mist. For most DIYers, the clean-up and masking effort far outweighs the speed benefit.
Rollers and brushes offer more control in this confined space.
How long should I wait before hanging pictures or shelves?
Wait the full 30-day cure time. Hanging items before the paint has fully cured can pull the soft film, leaving permanent marks or causing the paint to peel. Use painters tape to mark your desired layout while you wait.
Note: The previous batch included the “Frequently Asked Questions” section and concluded the TOC headings. There are no further H2 headings from the approved TOC to write. The article, as structured, is complete.