Preschool Wall Painting Tips: Fun, Safe, and Creative Ideas for a Playful Classroom
Painting a preschool classroom isn’t a weekend DIY project. It’s a decision with direct consequences for the health, safety, and daily experience of the children and staff inside it. The right preschool wall painting tips start with understanding that you’re not just choosing a color, you’re choosing a material that will be touched, leaned on, and cleaned daily in a space where young lungs are at their most vulnerable.
To get it right as of 2026, your first filter isn’t color swatches, it’s specifications. You need to look for paints certified for low chemical emissions, with a sheen level that can handle constant wiping. This isn’t about aesthetics first, it’s about creating a safe, durable canvas for learning.
Let’s break down exactly how to do that, from the non-negotiable safety specs to the colors that actually support a calm environment.
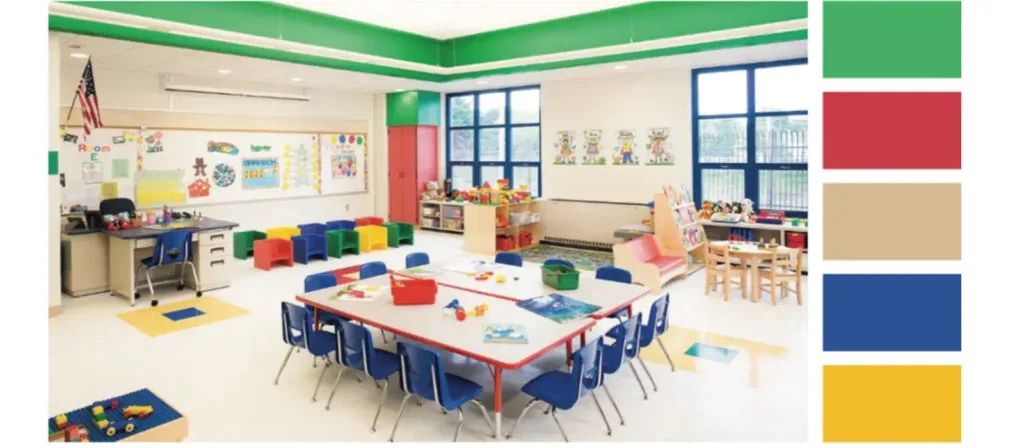
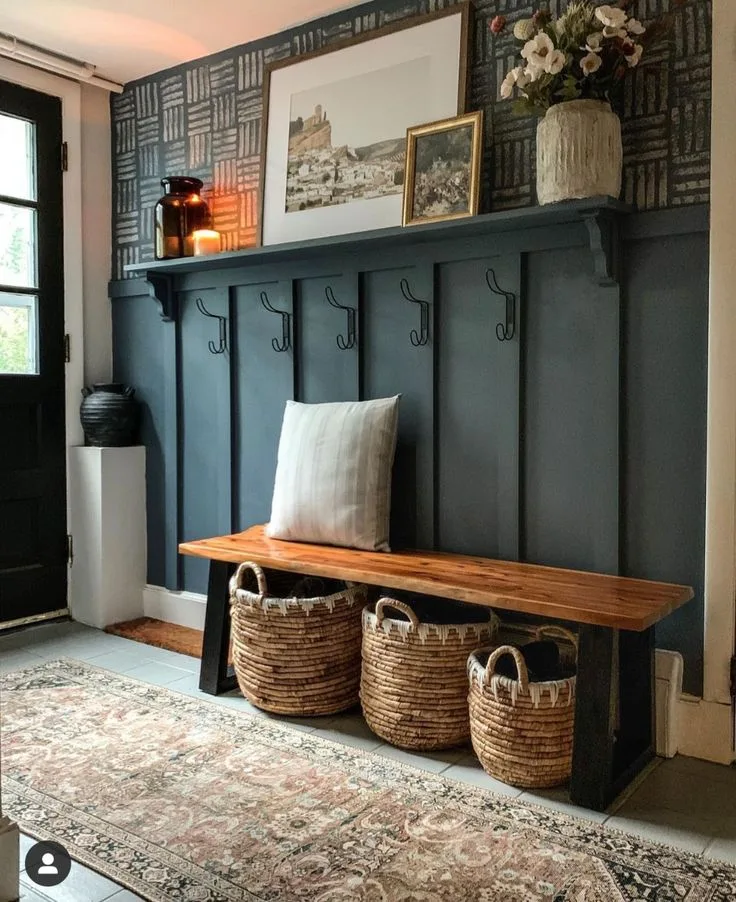
Image source: Bing (Web (fair-use with source credit))
Quick Answer
For preschool walls, always use zero-VOC or Greenguard Gold certified paint. Choose an eggshell or satin sheen for washability without harsh glare. Test for lead in buildings built before 1978.
Opt for calm, light colors like soft greens or warm neutrals. Schedule painting for long breaks and allow at least 72 hours for the paint to fully cure before reoccupying the room. Proper prep and ventilation are non-negotiable for child safety.
Your Preschool Wall Painting Checklist: Getting It Right
Think of this as your pre-flight checklist. Missing one item doesn’t just risk a poor finish, it can compromise the entire environment. A successful project balances health mandates, practical durability, and psychological impact.
Your core checklist should cover these phases:
- Pre-Planning: Scheduling, budgeting, selecting certified materials, and checking for lead (if applicable).
- Safety & Health: Ensuring zero-VOC paint, planning for full evacuation, and securing adequate ventilation.
- Durability & Function: Choosing the correct sheen (eggshell/satin) and a high-quality, scrub-resistant product.
- Environment & Mood: Selecting a light, calming color palette that avoids overstimulation.
- Execution & Timeline: Allocating time for proper prep, application, and, most critically, the full curing period before kids return.
Cross-reference this list with any local childcare licensing requirements, as some states have specific rules about facility finishes. This proactive approach turns a potentially stressful renovation into a systematic upgrade.
Why This Isn’t Just Any Paint Job: The Stakes for Little Learners
In a standard room, paint is largely decorative. In a preschool, it’s part of the learning infrastructure. Young children have faster respiratory rates and their organs are still developing, making them far more susceptible to off-gassing chemicals from paints and primers.
Furthermore, they interact with their environment tactilely, they touch walls, lean against them, and yes, sometimes draw on them.
This means your choices carry weight. A paint that off-gasses high levels of volatile organic compounds (VOCs) can contribute to headaches, nausea, and exacerbate asthma. A paint with a flat sheen might look nice initially, but will trap dirt and germs and become impossible to clean without damaging the finish.
A loud, intense color scheme can be overstimulating, potentially affecting focus and behavior.
Getting it right pays off in a space that’s not only beautiful but actively supports health, reduces maintenance headaches for staff, and creates a visually soothing backdrop for play and learning. It’s an investment in the daily function of the classroom itself. For inspiration on creating intentional, mood-enhancing spaces, you can explore concepts like earthy, grounded color palettes that work well in active environments.
The Non-Negotiables: Paint Safety & Health First
This is the section where you cannot cut corners. The health of the children is the absolute priority, and that dictates your material choices from the start.
Decoding ‘Low-VOC’ and ‘Zero-VOC’ Labels
These terms are your primary filter, but they aren’t all created equal. VOC stands for Volatile Organic Compound, these are chemicals that evaporate at room temperature, contributing to that “new paint smell” and impacting indoor air quality.
- Zero-VOC: This means the paint contains less than 1 gram of VOCs per liter. It’s the gold standard for sensitive environments. However, remember that once colorant is added, the final product can sometimes exceed this threshold, so ask for zero-VOC base and compatible colorants.
- Low-VOC: This is a looser term, generally meaning less than 50 g/L. It’s better than conventional paint, but not the best choice for a room that will be occupied all day by children.
- The Trusted Standard: Look for third-party certifications, not just marketing claims. The GREENGUARD Gold certification is specifically designed for spaces where children and the elderly spend time. It tests for over 10,000 chemicals and ensures ultra-low emissions. This is the label that gives real confidence.
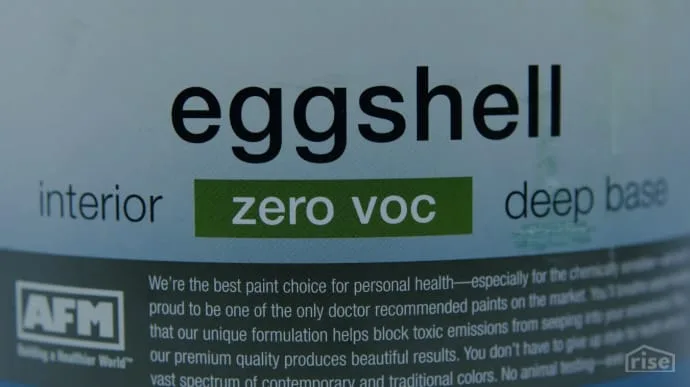
Image source: Bing (Web (fair-use with source credit))
Always check the manufacturer’s Technical Data Sheet (TDS) for the exact VOC content. In our research, specifying a GREENGUARD Gold certified paint eliminates guesswork and ensures you’re meeting the most stringent health-based benchmarks available.
The Critical Role of Paint Sheen for Cleanability
Sheen isn’t just about shine, it’s about durability and cleanability. The higher the sheen, the more durable and washable the finish, but also the more it will highlight any imperfections in the wall surface. For preschool walls, you need a balance.
- Flat/Matte: No shine. Hides wall imperfections well but is porous and stains easily. Very difficult to clean without damaging the finish. Not recommended for any preschool wall surface.
- Eggshell: A very subtle, low luster (like an eggshell). Offers decent stain resistance and washability while minimizing glare. A good, balanced choice for most classroom walls.
- Satin: A soft, pearl-like sheen. More durable and easier to clean than eggshell, with a slight increase in reflectivity. An excellent choice for high-touch areas, hallways, and bathrooms.
- Semi-Gloss: A noticeable shine. Extremely durable and easy to wipe clean. Best reserved for trim, doors, cabinets, and bathroom walls where moisture and frequent cleaning are expected. It can be too glaring for large wall areas.
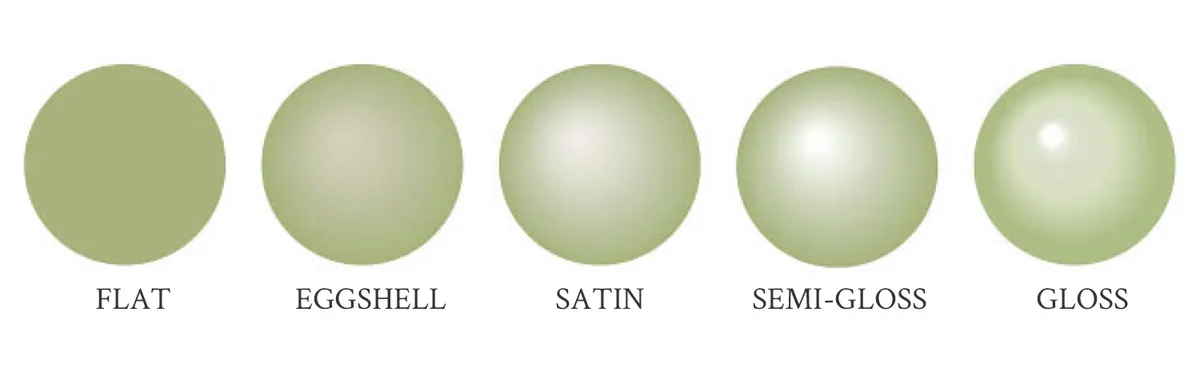
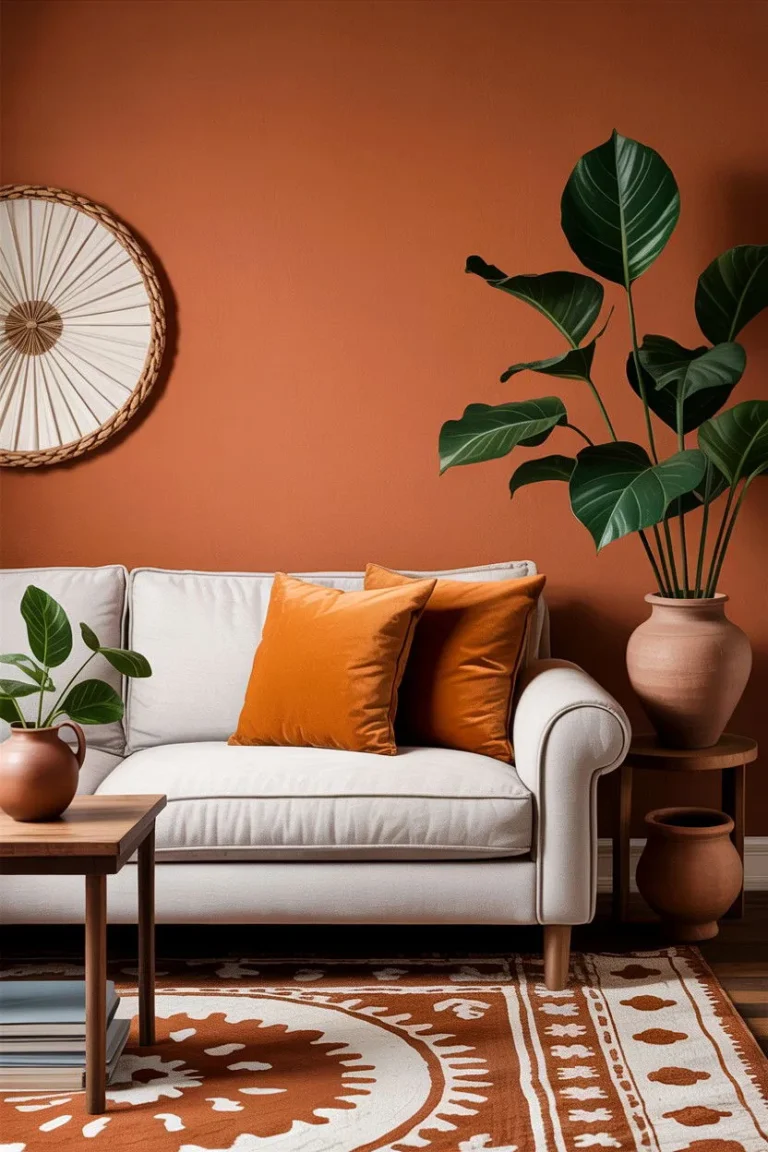
Image source: Bing (Web (fair-use with source credit))
For general classroom walls, our analysis of maintenance needs points to eggshell or satin as the ideal compromise. They provide enough of a protective, non-porous surface to handle regular cleaning with mild soap and water, without creating a distracting glare under bright lights. Save semi-gloss for the trim and doors.
The Legacy Threat: Handling Lead Paint in Older Buildings
If your preschool is in a building constructed before 1978, you must assume lead-based paint is present. Disturbing this paint through sanding, scraping, or demolition creates toxic dust that is especially harmful to children. This isn’t a DIY testing scenario, it’s a regulated process.
- The Rule: The EPA’s Renovation, Repair and Painting (RRP) Rule requires that any contractor disturbing more than a minimal amount of paint in a pre-1978 child-occupied facility must be EPA-certified and follow specific lead-safe work practices.
- What This Means for You: If you’re hiring a painter, verify their EPA certification. If you are considering a DIY approach for a small area, you must still use lead-testing kits to check. If lead is present, do not sand or dry-scrape. Professional containment and removal or special encapsulation paints are required.
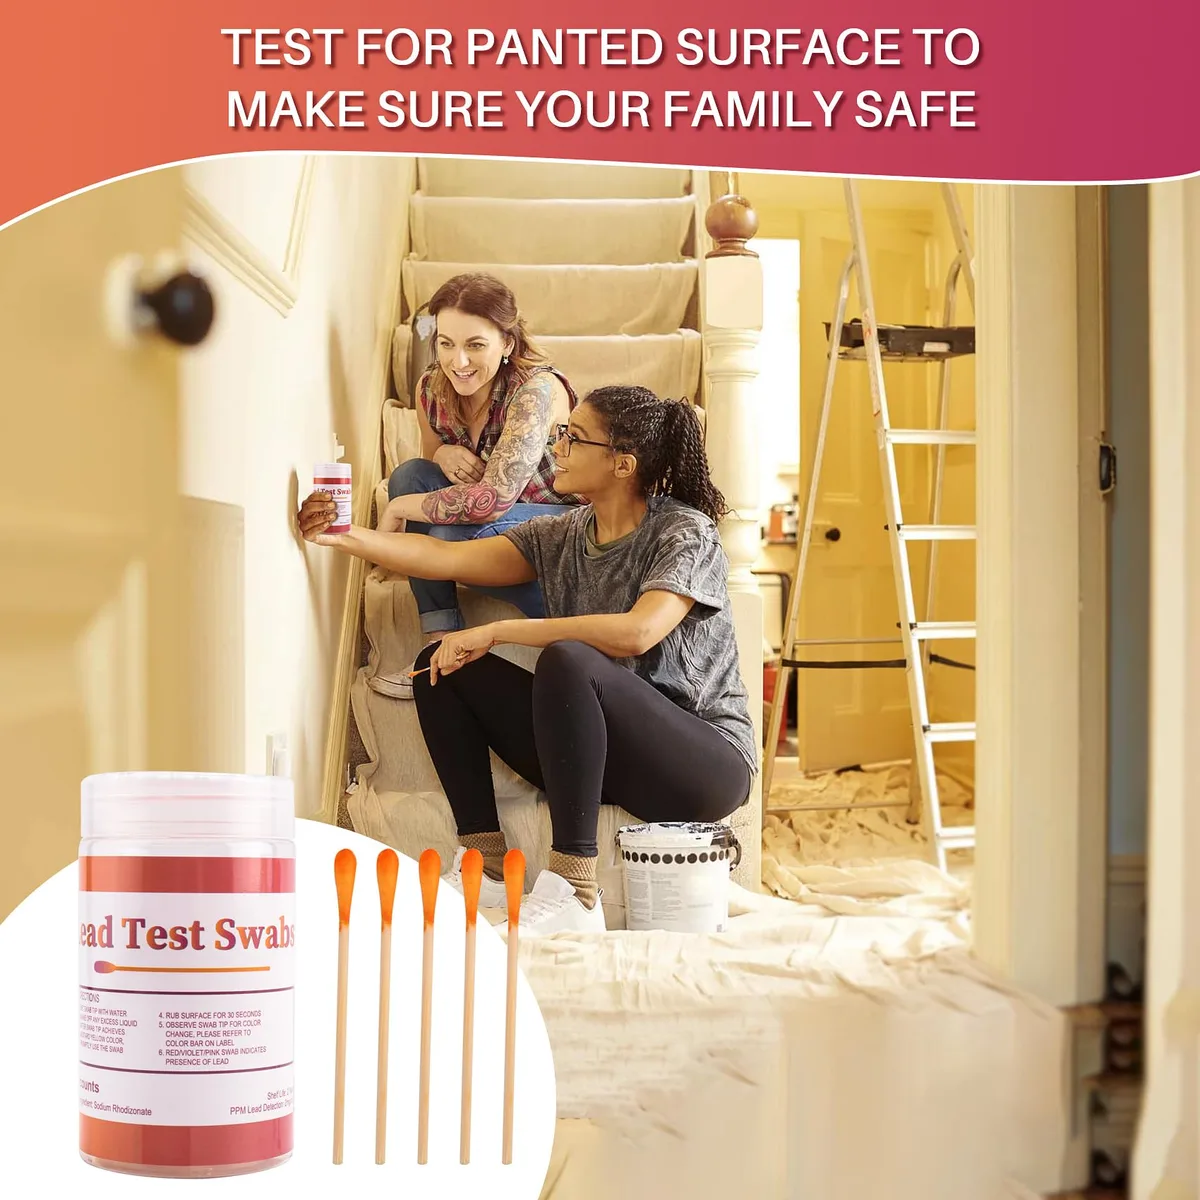
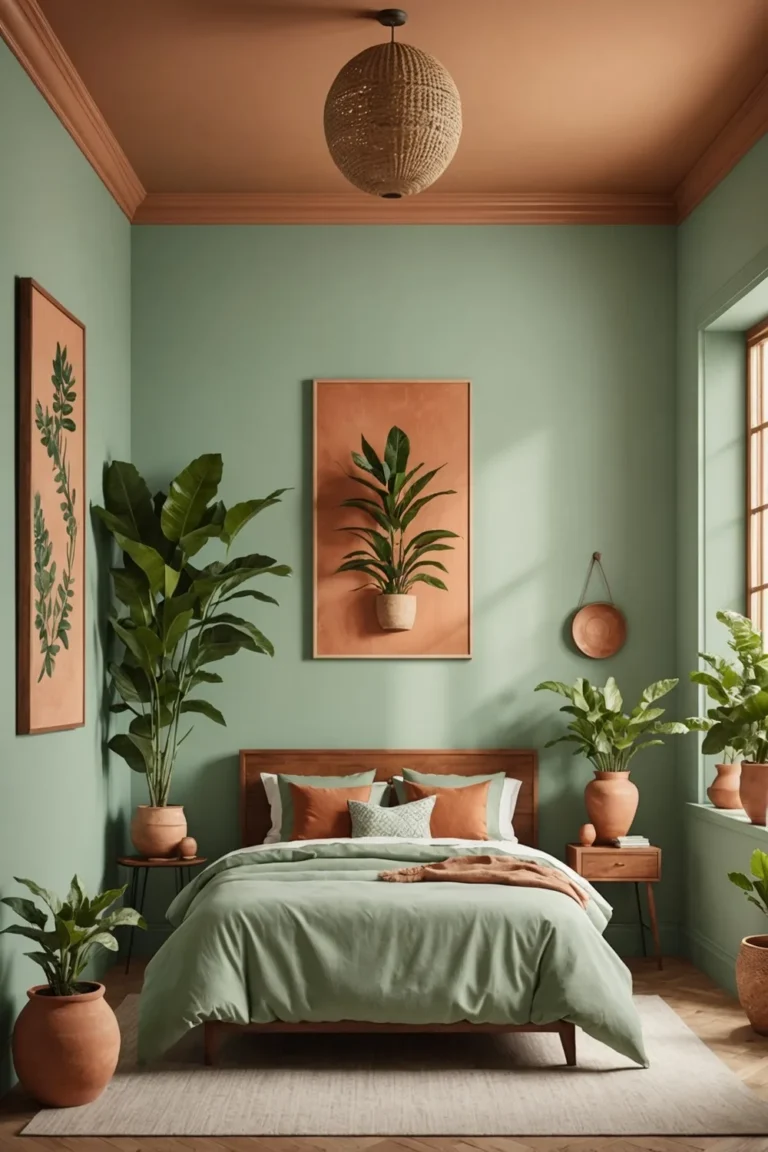
Image source: Bing (Web (fair-use with source credit))
Ignoring this isn’t an option. The health risks of lead exposure in children are severe and include developmental delays and learning difficulties. Your first step for any older building is to determine the lead status before any paint work is planned.
The EPA’s official guidelines are the definitive resource for understanding these requirements.
Building Your Color Palette: Calm, Not Chaotic
Once the safety specs are locked in, you can focus on color. The goal here is to create a background that stimulates but doesn’t overwhelm. Young children process a tremendous amount of visual information, and the walls should provide a sense of calm and focus, not compete for attention.
The Psychology of Color in Early Learning Spaces
Color influences mood and behavior. While every child is different, some general principles based on environmental psychology research can guide your choices:
- Blues & Greens: These cool tones are generally associated with calmness, concentration, and peace. Soft sage greens, muted seafoams, and light sky blues can create a serene backdrop. They’re excellent for main wall colors in nap rooms and focused activity areas.
- Neutrals (Warm Whites, Beiges, Grays): Provide flexibility and warmth. They prevent visual fatigue and allow children’s artwork, toys, and learning materials to become the colorful focal points. A warm, off-white is a timeless and safe choice for large areas.
- Yellows & Oranges: These warm colors can promote feelings of happiness and energy. However, use them sparingly as accent colors. Bright, saturated yellows can be agitating and are even linked to increased crying in infants. Opt for very pale, buttery yellows or peach tones if you want a warm accent.
- Reds & Purples: High-energy and stimulating. These are best used in tiny, intentional accents, perhaps on a single reading nook wall or in decor items. Large swaths of bright red or purple can be overstimulating and may increase restless behavior.
The key is low saturation. Pastels, muted tones, and light values are your friends. You want color, but in its most gentle, whisper-like form.
This philosophy of subtle, mood-enhancing color can also be seen in more nuanced adult bedroom designs, where the goal is atmosphere over excitement.
Using Accent Walls and Murals Strategically
While a uniform color is safe, strategic pops of color or imagery can define spaces and spark imagination. The rule is intentionality. An accent wall behind the reading loft in a soft terracotta creates a cozy niche.
A simple, hand-painted mural of a tree with branches can define the quiet corner without sensory overload.
Avoid busy, cartoon-character murals that cover every wall. They can quickly become dated and visually chaotic. Instead, consider nature-inspired themes, abstract shapes, or a single, large-scale graphic element.
The best classroom designs often use color to zone the room, a light blue for the quiet area, a warm neutral for the main play space, a slightly brighter (but still soft) hue for the art station. This subtle coding helps children understand the purpose of each area. For ideas on using color to define a distinct space, look at how a single theme can anchor a room’s decor.
From Prep to Perfect Cure: The Safe Painting Timeline
Rushing this process is the number one cause of problems, from peeling paint to lingering odors. A successful project follows a phased timeline that prioritizes preparation and curing over quick application.
Phase 1: Scheduling and Safe Room Evacuation
You must plan for the room to be completely empty and out of use for a minimum of 4-7 days. This means painting during a long holiday break, over a weekend plus several weekdays, or in a summer shutdown. All furniture, toys, soft materials (rugs, curtains), and children’s belongings must be removed.
You cannot paint around them.
Coordinate with staff well in advance. The goal is a clean, empty box. This also allows for proper surface preparation, which is impossible if you’re working around shelves and cubbies.
Phase 2: Surface Prep That Actually Lasts
This is the most skipped and most important step. Paint adheres to a clean, sound surface, not to dirt, grease, or loose material.
- Clean: Wash walls with a trisodium phosphate (TSP) substitute or a gentle degreaser to remove years of fingerprints, dust, and grime. Rinse and let dry completely.
- Repair: Fill any holes, cracks, or dents with spackle. Sand repairs smooth once dry.
- Prime: This is non-optional for a professional job. Primer ensures uniform adhesion, blocks stains (like crayon or marker), and provides a consistent base for your topcoat, especially if you’re making a dramatic color change. Use a primer that matches the safety specs of your topcoat (e.g., zero-VOC, stain-blocking).
Aggregate feedback from professional painters consistently shows that 80% of a paint job’s longevity comes from the prep work done beforehand. Don’t pour premium paint onto an unprepared wall.
Phase 3: Application for Maximum Durability
With prep done, application is straightforward. Use high-quality brushes for “cutting in” (painting the edges) and a roller with a medium-nap sleeve for the main walls. A high-quality roller applies more paint more evenly, which leads to better coverage and durability.
Apply two thin coats of your topcoat, allowing the first coat to dry completely (check the can for dry time, usually 4-6 hours) before applying the second. One thick coat is more prone to drips, uneven drying, and premature failure. Proper technique matters just as much as the paint quality.
Phase 4: The Crucial Curing and Re-Entry Period
This is the critical phase most people misunderstand. Dry time is not cure time.
- Dry to the Touch: This happens in a few hours. It means you can gently touch it without getting paint on your finger.
- Full Cure: This is when the paint has reached its maximum hardness and durability and off-gassing has reduced to negligible levels. For water-based latex paints, this takes a minimum of 72 hours, and ideally 7 days, with good ventilation.
The room should remain well-ventilated (windows open, fans running) and unoccupied during this cure period. Even with zero-VOC paint, some odor may be present during curing. Allowing this full period ensures the paint film is hard enough to withstand the return of furniture and the first round of cleaning, and that the air is truly fresh for the children’s return.
Rushing re-entry risks damaging the fresh paint and exposing little lungs to unnecessary compounds.
Key Comparisons: Making the Right Material Choices
You’ll face a few key decisions. Here’s how to think them through.
Zero-VOC vs. Low-VOC: What’s the Real Difference?
This isn’t just splitting hairs. For a preschool, the difference is meaningful.
| Feature | Zero-VOC Paint | Low-VOC Paint |
|---|---|---|
| VOC Content | < 1 gram per liter | Typically < 50 grams per liter |
| Odor During Application | Very low to none | Noticeable, but less than conventional paint |
| Off-Gassing Period | Shorter, less intense | Longer, more pronounced |
| Certifications | Often carries GREENGUARD Gold | May carry standard GREENGUARD |
| Best For | Preschools, nap rooms, healthcare – any sensitive, occupied space | Garages, adult offices, low-occupancy areas |
| Cost | Premium | Moderate |
The Verdict: The incremental cost for zero-VOC, especially with a GREENGUARD Gold certification, is a non-negotiable investment for a child-occupied space. Low-VOC is a significant improvement over conventional paint, but it doesn’t meet the highest standard for indoor air quality in this specific use case.
Paint Finish Showdown: Eggshell, Satin, or Semi-Gloss?
Let’s put the sheen comparison into a direct table for your walls, trim, and special areas.
| Sheen | Best Used For | Pros | Cons |
|---|---|---|---|
| Eggshell | Main classroom walls | Hides imperfections well, low glare, washable. | Less durable than satin for very high-touch zones. |
| Satin | High-touch walls, hallways, bathrooms | More durable and scrub-resistant than eggshell. | Shows wall flaws slightly more than eggshell. |
| Semi-Gloss | Trim, doors, cabinets, bathroom wainscoting | Extremely durable, moisture-resistant, easiest to clean. | High shine can be glaring on large walls. |
The Verdict: Use Eggshell or Satin on walls, and Semi-Gloss on all trim and doors. This hybrid approach gives you durability where you need it most (edges and handles) and a comfortable, wipeable finish on the main surfaces.
Professional Painter vs. DIY: When to Call the Pros
This decision hinges on scale, complexity, and your specific situation.
Choose a Professional Painter If:
- The building was built before 1978 (EPA RRP rules apply).
- The project is large (multiple rooms or the entire center).
- The walls are in poor condition, requiring significant repair.
- You have a tight timeline that aligns with a school break.
- Your staff and volunteers lack the time or expertise.
A DIY Approach Might Be Feasible If:
- It’s a single, small room in a post-1978 building.
- You have a dedicated, skilled volunteer team (like parent volunteers).
- You have an extended closure period (e.g., summer) to allow for a slower, careful process.
- The budget is extremely constrained, but you are committed to buying the right materials and following the safety and prep protocol to the letter.
If you DIY, you become the project manager responsible for every safety and quality step outlined here. There’s no shortcut.
Common Mistakes That Compromise Safety or Longevity
Let’s learn from common errors so you can avoid them.
- Skipping the Cure Time: Bringing kids and furniture back in 24 hours later. This leads to damaged paint, stuck items, and unnecessary chemical exposure.
- Choosing Price Over Spec: Buying a “good enough” paint to save a few dollars per gallon. The cost of repainting a failed surface or dealing with health concerns far outweighs the initial savings.
- Painting Over Dirt or Gloss: Not prepping walls properly causes peeling and chipping within months. Glossy surfaces need to be lightly sanded and primed for new paint to stick.
- Ignoring Ventilation: Painting with windows closed to control temperature or dust, then leaving the room sealed. Continuous fresh air exchange during and after painting is mandatory.
- Using the Wrong Sheen: Putting flat paint in a play area or semi-gloss on a large, imperfect wall. This leads to a space that’s either impossible to keep clean or visually jarring.
- Forgetting About Touch-Ups: Not buying an extra quart of the custom-mixed paint for future touch-ups. Preschool walls will get scuffed; having the exact match for small repairs keeps the room looking fresh for years. Consider storing it in a cool, stable environment to maintain its quality.
Budgeting Realistically: Cost vs. Long-Term Value
Budget conversations often start and end with the price per gallon. For a preschool, you need to think in terms of total cost over 5-7 years.
A premium zero-VOC, GREENGUARD Gold paint from a quality brand might cost 30-50% more per gallon than a big-box store mid-grade paint. However, it will typically have better hide (covering the old color in fewer coats), better scrub resistance, and retain its appearance longer. It also comes with the priceless benefit of guaranteed low emissions.
Factor in all costs:
- Materials: Paint, primer, rollers, brushes, tape, drop cloths, cleaning supplies.
- Labor: Professional costs or the value of volunteer/staff time.
- Displacement: Cost of alternative arrangements if the space is unusable (though often $0, it’s a factor).
- Future Repairs: The cost of premature repainting or constant touch-ups with an inferior product.
Investing in the right paint and proper application from the start is almost always cheaper than doing a quick, cheap job that needs to be redone in three years. It’s a classic case of “buy nice, or buy twice.”
Your Action Plan: A Step-by-Step Decision Guide
Here’s how to turn all this information into a concrete plan.
For a New Build or Full Renovation
You have a blank slate. Follow this sequence:
- Consult & Specify: Work with your designer or contractor to specify GREENGUARD Gold certified, zero-VOC paint in an eggshell or satin sheen for walls in the construction documents. Make it a non-negotiable line item.
- Color Selection: Choose your light, muted palette with the architect or design team. Use large swatches on the wall to see colors in the actual light.
- Schedule for Vacancy: Plan the painting to occur after all other trades are finished but before any furniture or floor coverings are installed. This is the ideal scenario.
- Verify Before Occupancy: Ensure the painting is complete and has had a full 7-day cure period with ventilation before the certificate of occupancy is finalized and children enter.
For a Quick Refresh of an Existing Classroom
This is the most common scenario. Your plan is key.
- Secure the Timeline: Lock in a 5-7 day closure period during a break.
- Source Materials: Purchase primer and topcoat that are GREENGUARD Gold certified. Buy 10-15% more than you calculate to have extra for touch-ups. Get the right sheens (eggshell/satin for walls, semi-gloss for trim).
- The Week Before: Remove all furniture, art, rugs, and soft materials from the room. Clean and repair walls.
- Paint Weekend: Ensure vigorous ventilation. Apply primer, then two coats of topcoat, following dry times.
- The Cure Window: Keep the room empty, ventilated, and off-limits for a minimum of 72 hours, pushing for 7 days if possible.
- Re-Entry: Move furniture back in carefully. Do a final inspection for any missed spots.
When to Stop and Get Expert Help
Know your limits. Stop and call a professional immediately if:
- You find crumbling, alligatoring, or many layers of old paint in a pre-1978 building. This is a potential lead hazard.
- You discover significant mold or water damage on the walls. Painting over it is a health risk and will fail. The source must be fixed first.
- The scale of the project simply exceeds your volunteer team’s capacity, time, or skill level. A botched job costs more to fix than hiring a pro from the start.
- You cannot secure a long enough closure for proper curing. A professional crew can often complete the physical work faster, allowing for a longer cure window within a set break.
Your role is to be the informed client, not necessarily the tradesperson. Knowing when to delegate is a sign of good project management. For large-scale projects that involve structural changes, reviewing the fundamentals of modern interior design can provide helpful parallels in planning and execution.
Frequently Asked Questions
How long should we wait before letting kids back in the room?
You need to wait for the paint to cure, not just dry. Provide a minimum of 72 hours of ventilation with the room empty. A full 7-day cure is ideal, especially for nap rooms.
Re-entry before this risks damaging the soft paint surface and exposing children to the tail end of the off-gassing process.
Can we use leftover house paint for the preschool?
We strongly advise against it. Most standard house paints do not meet the zero-VOC/GREENGUARD Gold standard required for a sensitive environment. They also may not have the scrub-resistant formula needed for commercial-grade cleaning.
The small savings aren’t worth compromising on health and durability.
What’s the best way to clean painted preschool walls?
Use a soft cloth or sponge with warm water and a small amount of mild, non-abrasive soap. Gently wipe the area. Avoid harsh chemicals, abrasive scrub pads, or cleaners with ammonia or bleach, as they can degrade the paint film over time.
The eggshell or satin sheen you chose should make this routine cleaning effective.
Are “washable” crayons and markers really safe for these walls?
While labeled “washable,” they can still stain if left on the wall for an extended period. The higher sheen (satin) you choose will make removal easier. The best practice is to clean any marks as soon as possible.
Your primer should also have stain-blocking properties to help prevent permanent marks.
Do we need special paint for the bathroom and kitchen areas?
Yes. In these high-moisture areas, it’s wise to upgrade to a paint formulated with mold and mildew resistance. Still choose a zero-VOC option, but look for this added property on the label.
A satin or semi-gloss sheen is also more appropriate here due to the need for frequent wiping and moisture resistance.
How often should we plan to repaint?
With high-quality paint applied correctly to well-prepped walls, you can expect a 5-7 year lifespan before a refresh is needed for aesthetics. High-traffic areas like hallways may need touch-ups or a repaint sooner. Buying that extra quart of touch-up paint will extend the time between full repaints significantly.
Your Go-To Resource List for Regulations and Standards
Don’t rely on memory or hearsay. Bookmark these official resources. They provide the definitive rules and best practices that inform every recommendation in this guide.
- EPA Renovation, Repair and Painting (RRP) Rule: The central hub for lead safety in pre-1978 buildings. Find certified firms, work practice guides, and training information here.
- GREENGUARD Certification Program (UL): The official site to understand the GREENGUARD and GREENGUARD Gold standards. You can verify certified products.
- Consumer Product Safety Commission (CPSC): A resource for general product safety, including information on chemicals in consumer paints.
- Your State’s Childcare Licensing Division: Often part of the Department of Health and Human Services. Their website will have specific facility and safety codes for licensed childcare centers in your area.
- OSHA (Occupational Safety and Health Administration): Provides guidelines for ventilation and safety during painting operations, which apply to workers and can inform your site management.
- Paint Manufacturer Technical Data Sheets (TDS): Always download the TDS for the exact paint product you select. It contains the official VOC content, coverage, dry times, and application instructions.
Having these sources at hand makes you an informed buyer and project manager. You can speak with authority to contractors and make decisions based on official data, not marketing claims.
Wrapping It All Up
Painting a preschool is a profound responsibility. It’s a chance to actively build a healthier, more supportive, and more beautiful environment for children’s earliest learning experiences. By starting with safety certifications, choosing durable materials, and respecting the critical timelines for prep and curing, you transform a routine maintenance task into a meaningful upgrade.
The result is a space that works harder for you. It’s easier to keep clean, safer to breathe in, and consciously designed to promote the calm and focus that both children and teachers need. That’s a return on investment that lasts for years.
When to Stop and Get Expert Help
Stop and call a professional immediately if you find crumbling, layered old paint in a pre-1978 building. This is a potential lead hazard. You should also stop if you discover significant mold or water damage on the walls.
The source of the moisture must be fixed first. Painting over it is a health risk and the paint will simply fail again. Finally, stop if the project’s scale exceeds your team’s capacity.
A botched job costs more to fix than hiring a pro from the start.
Your Action Plan: A Step-by-Step Decision Guide
Turn the information into a concrete plan with two common starting points.
For a New Build or Full Renovation
Work with your contractor to specify GREENGUARD Gold certified, zero-VOC paint in your construction documents. Make it a non-negotiable line item. Schedule painting for after all other trades finish but before any furniture is installed.
This is the ideal scenario. You can ensure a full cure period before occupancy. Use large swatches to see your chosen light, muted colors in the actual classroom light before finalizing.
For a Quick Refresh of an Existing Classroom
Lock in a 5-7 day closure period during a break. Purchase all GREENGUARD Gold certified primer and paint beforehand. Buy an extra 10% for touch-ups.
Remove all furniture and wash walls the week before. During the closure, ensure vigorous ventilation, apply primer, then two coats of topcoat. Keep the room empty and ventilated for a minimum 72-hour cure before carefully moving furniture back.
Your Go-To Resource List for Regulations and Standards
Bookmark these official resources. They provide the definitive rules behind every recommendation here.
- EPA Renovation, Repair and Painting (RRP) Rule: The central hub for lead safety in pre-1978 buildings.
- GREENGUARD Certification Program (UL): Verify certified products and understand the Gold standard.
- Your State’s Childcare Licensing Division: Find specific facility and safety codes for licensed centers.
- Paint Manufacturer Technical Data Sheets (TDS): Download the official specs for VOC content, coverage, and dry times for your exact product.
These sources let you make decisions based on official data, not marketing claims. They help you speak with authority to any contractor.
Wrapping It All Up
Painting a preschool is a profound responsibility. It’s a chance to actively build a healthier, more supportive environment for early learning.
By starting with safety certifications, choosing durable materials, and respecting the critical prep and curing timelines, you transform routine maintenance into a meaningful upgrade. The result is a space that’s easier to keep clean, safer to breathe in, and consciously designed to promote calm and focus.
That’s a return on investment that lasts for years.