3D Painting Ideas for Walls: Creative Designs to Add Depth and Dimension to Your Home
Looking for 3D painting ideas for walls can feel overwhelming at first. You see photos of incredible geometric rooms or faux concrete finishes and wonder how it's even possible without a professional artist. The truth is, most 3D wall effects rely on a few simple, learnable techniques.
You just need to understand the visual trick that makes them work.
The key is contrast. It’s not about complex artistry, but about using strategic color, light, and shadow to fool the eye into seeing depth. According to basic color theory and data from paint manufacturers as of 2026, the Light Reflective Value (LRV) difference between your highlight and shadow colors is a critical metric for success.
If that difference is too small, your effect will fall flat. Let's break down exactly how you can use that knowledge to transform a flat wall.
Quick Answer
3D painting ideas for walls use color and shadow to create optical depth. Geometric patterns and faux textures are popular choices. The most successful projects rely on high-contrast paint colors.
Proper wall preparation and precise taping are non-negotiable first steps. Always test your technique on a sample board before painting the wall.
Why 3D Wall Painting Isn’t What You Think
Many people assume 3D wall art requires an airbrush or years of training. That's not the case. At its core, this is a DIY-friendly category of painting designed to create an illusion.
The "3D" effect doesn't mean the wall is physically sculpted, though texture can enhance it.
Instead, you're creating a visual trick known as trompe l'oeil. This technique uses realistic imagery to deceive the viewer into perceiving a painted surface as a three-dimensional object or space. The most accessible versions for beginners are geometric designs and simple faux finishes.
The real skill isn't in freehand drawing, but in meticulous preparation and understanding how light behaves. You're essentially painting a map of where light would hit an object and where shadows would naturally fall. If you can follow a template and use painter's tape, you're already most of the way there.
This makes it a fantastic project for adding a high-impact feature to a space on a budget, whether you're updating a dusty pink bedroom or crafting a bold accent wall.
Your Toolbox: What You Actually Need (And What You Don’t)
You don't need a studio full of specialized gear. A focused, quality-focused toolkit will give you far better results than a cart full of gadgets you'll use once. Let's separate the essentials from the optional helpers.
The Non-Negotiable Essentials:
- Paint: You'll need a minimum of two colors: a base color and a significantly lighter or darker shade for the 3D effect. A mid-tone base with both a highlight and a shadow color is even better. Opt for a matte or satin finish for walls. Gloss can look cheap and highlight imperfections.
- Primer: A good primer is your secret weapon. It ensures paint adhesion, provides a uniform surface for your base coat, and can block stains. For new drywall or heavily patched areas, it's mandatory.
- Painter's Tape: Not just any tape. You need delicate surface painter's tape (often blue or green). The cheap tan stuff will almost guarantee paint bleed and ruin your crisp lines.
- Brushes & Rollers: A quality angled sash brush (1.5-2 inches) for cutting in edges and detail work. A standard roller with a medium-nap sleeve for your base coats. A few cheap, stiff-bristled brushes for dry brushing techniques.
- Surface Prep: Sandpaper (120- and 220-grit), a sanding block, spackle, and a putty knife for fixing holes and smoothing the wall.
The Highly Recommended "Pro" Helpers:
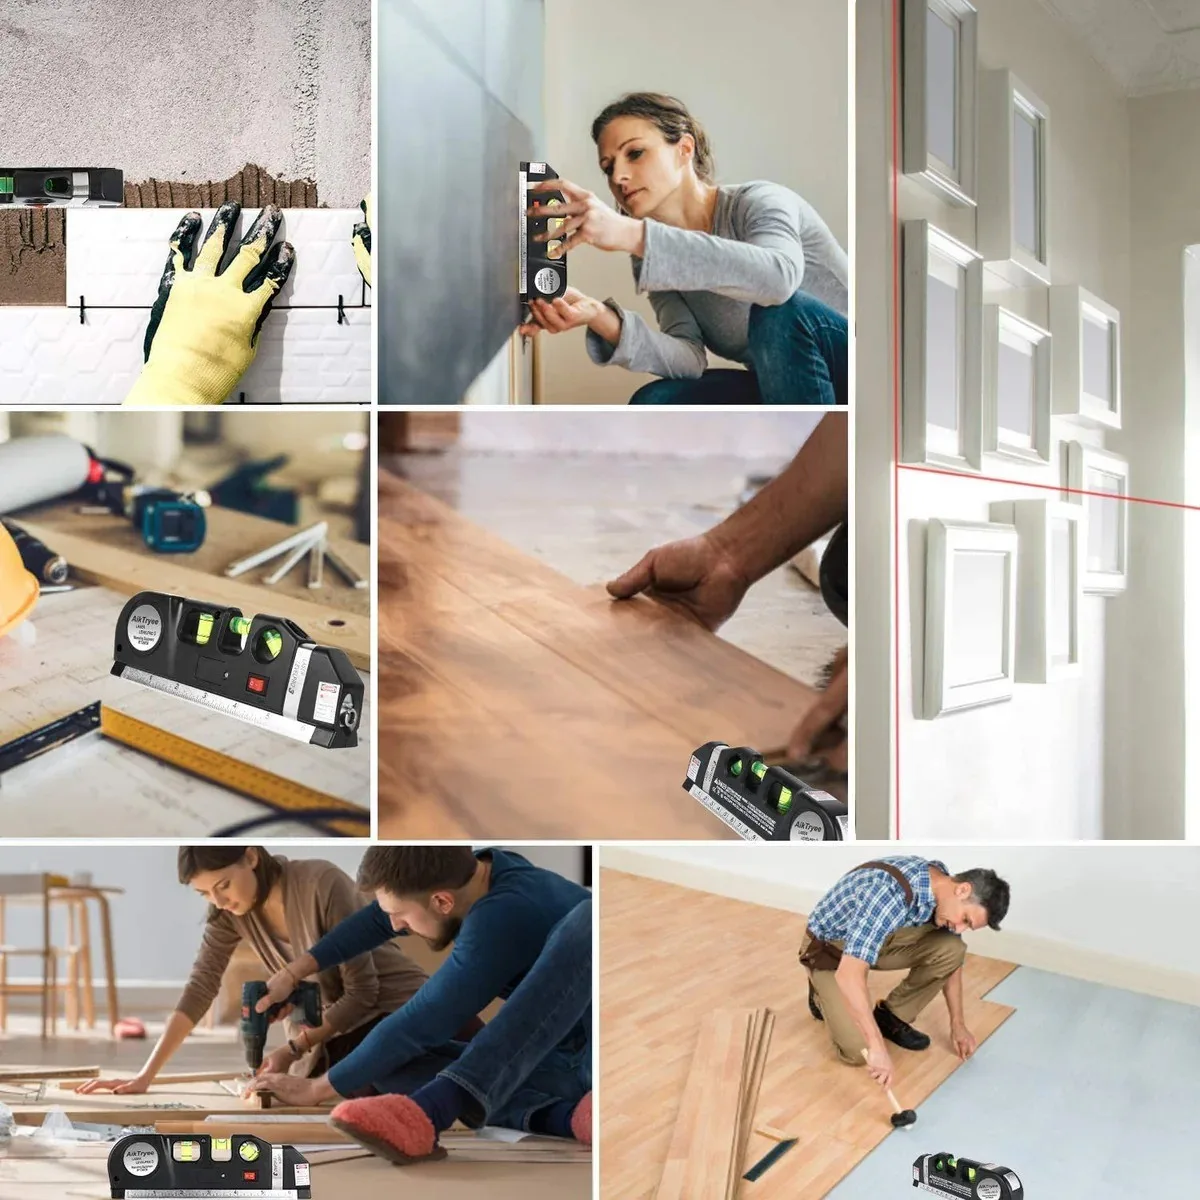
- A Laser Level: This is the single biggest upgrade for geometric designs. It projects perfectly straight lines across your wall, making layout and taping infinitely faster and more accurate than a chalk line and spirit level.
- A Projector: For complex images, murals, or intricate patterns, a simple home projector is a game-changer. You can project your design directly onto the wall and trace it.
- Paint Glaze: This is a clear medium you mix with your paint color. It extends the drying time, allowing you to manipulate the paint (for techniques like rag-rolling or color washing) and creates translucent, layered effects perfect for faux finishes.
What You Can Skip (For Now):
- Expensive specialty texture rollers. You can create textures with joint compound and a putty knife or a simple sponge.
- An airbrush kit. While powerful, it's a steep learning curve and unnecessary for 90% of 3D wall effects.
- Every color of paint under the sun. Start with a simple palette. You can always build complexity in your next project, perhaps in a moody boho bedroom design.
| Tool Category | Essential Items | "Pro" Helper Items | Purpose |
|---|---|---|---|
| Surface & Prep | Sandpaper, Spackle, Primer, Putty Knife | – | Creates a flawless canvas for paint. |
| Application | Angled Brush, Paint Roller, Paint Tray | Paint Glaze, Variety of Brush Stiffnesses | Applies paint and enables advanced techniques. |
| Layout & Precision | Delicate Surface Painter's Tape | Laser Level, Digital Projector | Ensures straight lines and accurate design transfer. |
| Clean-Up | Drop Cloths, Rags, Water Bucket (for latex) | – | Protects your space and makes the job easier. |
The Magic Trick: How Shadows and Light Create “3D”
This is the most important concept to grasp. A flat shape painted on a wall looks flat. To make it pop out or recede, you must simulate how light interacts with a real object.
Think of a cube. One face is brightest where the light hits it directly. The top face is slightly darker.
The side face in shadow is the darkest. The edges where these faces meet have the sharpest contrast. You are painting this simplified light map.
The two fundamental techniques for this are highlighting and shadowing.
Highlighting uses a color lighter than your base to indicate where light strikes a raised edge or surface. Shadowing uses a darker color to show where an object recedes or casts a shadow. The greater the LRV difference between these colors and your base, the stronger the 3D effect.
Enter the Dry Brush Technique.
This is your best friend for creating soft, blended highlights and shadows that look professional, not like a cartoon outline.
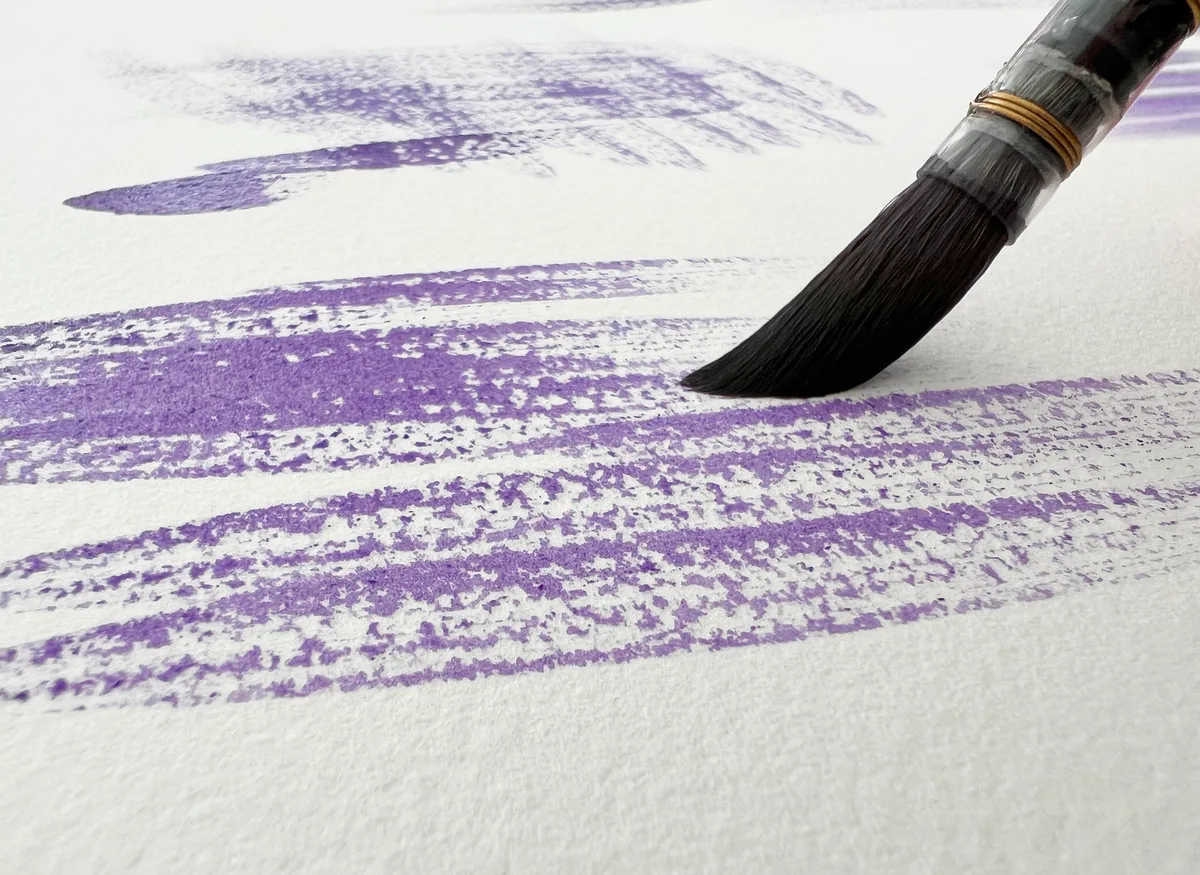
Here’s how it works:
- Dip the very tips of a stiff, dry brush into your highlight or shadow paint.
- Wipe almost all of it off on a paper towel or rag. The brush should look nearly dry.
- Lightly drag the brush parallel to the edge you want to highlight or shadow. For a raised geometric panel, you'd drag along its raised edge.
- The minimal paint deposits a broken, textured line that naturally fades. It mimics the way light grazes a surface, creating a soft glow rather than a hard line.
This technique is used in everything from creating the worn edges of faux brick to making geometric panels look like they're floating an inch off the wall. It’s the subtlety that sells the illusion.
Choosing Your Idea: A Quick Gallery of Effects
Not every effect is right for every room or skill level. Your choice should match your comfort with tools, the room's purpose, and your existing decor. Let's tour the most popular categories.
Geometric Illusions (Cubes, Lines, Panels)
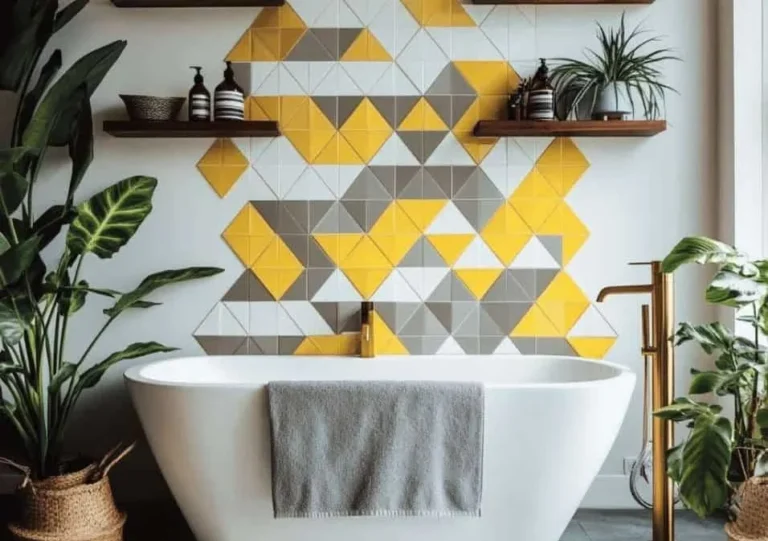
This is the most popular starting point for a reason. It's highly graphic, modern, and relies on precision taping rather than freehand skill.
- What it is: Creating the illusion of stacked cubes, floating panels, recessed tiles, or simple intersecting lines.
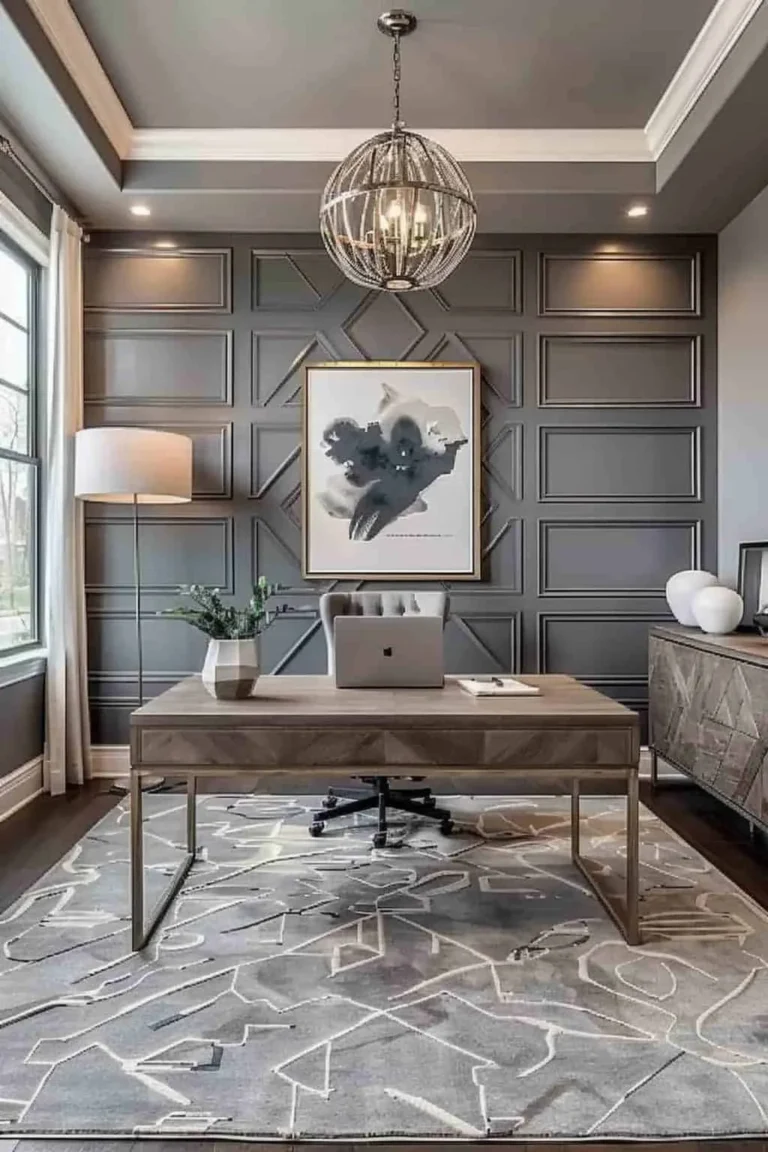
- Best for: Modern spaces, accent walls, hallways, and home offices. It can make a low ceiling feel taller or a narrow room feel wider.
- Skill Level: Beginner to Intermediate. Success is 90% in the taping and layout.
- Key Technique: Precise taping, base coats, and dry brushing for highlights/shadows.
Faux Textures (Brick, Concrete, Plaster)
This technique aims to replicate the look and feel of another material through paint and sometimes added texture.
- What it is: Using paint layers, glaze, and sometimes joint compound to mimic materials like exposed brick, polished concrete, or Venetian plaster.
- Best for: Adding industrial, rustic, or organic warmth. Great for feature walls behind beds or in living rooms.
- Skill Level: Intermediate. Requires comfort with layering and manipulating wet paint.
- Key Technique: Rag-rolling, color washing, and texturing with a trowel or sponge.
Nature & Organic Forms (Vines, Mountains, Clouds)
These are softer, more illustrative designs that can feel serene or dramatic.
- What it is: Painting simplified organic shapes like mountain ranges, drifting clouds, trailing ivy, or a forest silhouette.
- Best for: Bedrooms (especially children's rooms), meditation spaces, or bathrooms. A moody purple bedroom decor scheme with a mountain mural can be stunning.
- Skill Level: Varies. Simple silhouettes are beginner-friendly. Detailed landscapes are advanced.
- Key Technique: Often uses stencils or the projector method. Blending is important for a natural look.
Trompe l’oeil & Architectural Tricks
The advanced class of illusion, making viewers question what's real.
- What it is: Painting fake windows, bookshelves, architectural moldings, or openings to other "spaces."
- Best for: Statement walls in dining rooms, studies, or at the end of a hallway. It requires a room with appropriate scale.
- Skill Level: Advanced. Requires strong understanding of perspective, light, and shading.
- Key Technique: Photorealistic shading, perspective drawing, and an often complex color palette.
Before You Touch a Brush: The Wall Prep That Matters Most
Skipping or rushing preparation is the number one reason DIY paint projects fail. On a flat wall, a small flaw might be hidden. On a 3D design with crisp lines and contrasting colors, every imperfection is magnified and spotlighted.
Your prep workflow is non-negotiable:
- Clear & Protect: Remove all wall plates, lights, and artwork. Use drop cloths that are canvas or plastic-backed fabric. The cheap, thin plastic ones tear and slide.
- Wash the Walls: Dust and grease prevent paint from adhering. Use a trisodium phosphate (TSP) substitute or a mild detergent solution. Rinse with clean water and let dry completely.
- Repair: Fill all nail holes, dings, and cracks with spackle. For cracks along seams, use joint compound and fiberglass tape. Skim-coat heavily textured walls if you want a smooth finish.
- Sand: Once repairs are dry, sand everything smooth with 120-grit sandpaper, then 220-grit for a final pass. Wipe down the walls with a tack cloth to remove all dust. This is the dust that will get trapped in your paint and ruin the smoothness.
- Prime: Apply a coat of high-quality primer to the entire wall. This seals the surface, ensures uniform absorption for your topcoat, and provides the best base for tape adhesion. Let it dry according to the manufacturer's instructions, usually at least 4 hours.
The U.S. Environmental Protection Agency (EPA) has clear guidelines for working in homes built before 1978 due to the risk of lead-based paint. If your home falls into that category, you must test for lead and follow specific safety procedures before disturbing any surface.
For modern homes, using low-VOC or zero-VOC paints and primers is a good practice for indoor air quality, especially in bedrooms or poorly ventilated spaces.
This foundation work is boring, but it's what separates a professional-looking result from a disappointing one. It’s the same principle behind any great design, whether you're preparing for a 3D wall or planning a hospital false ceiling design, the unseen structure determines the visible success.
A Walkthrough: Painting a Simple Geometric 3D Wall
Let's apply everything we've covered to a concrete project. We'll create a grid of floating rectangles, one of the most beginner-friendly and effective geometric illusions. This process turns theory into action.
Step 1: Layout and Taping with a Laser’s Help
Start with your fully prepped and primed wall. Decide on your grid pattern. A simple layout with 6-8 rectangles of varying sizes works well.
Use your laser level to project perfectly horizontal and vertical lines onto the wall. Lightly mark the corners of each rectangle with a pencil. Do not draw the full shape.
The tape will define the edges.
Apply your delicate-surface painter's tape to create the outline of each rectangle. Press the tape edges down firmly with a putty knife or credit card. This seal is critical to prevent the paint bleed we'll discuss later.
For the "floating" effect, you are taping the outside of where the rectangle will be.
Step 2: Laying Your Base Colors
Your base coat is the wall color itself. Paint the entire wall, including right over the taped rectangles, with this color. Use a roller for the main field and an angled brush to cut in at ceilings, corners, and the tape edges.
Let this base coat dry completely, following the paint can's recoat time. This usually takes 2-4 hours. Do not rush this step.
Painting over a tacky base coat will pull it up when you remove the tape.
Step 3: The Dry Brush & Highlight Technique
Once the base is dry, it's time to create the illusion. Choose one side of each rectangle to be the "highlight" edge (where light hits) and the opposite side to be the "shadow" edge.
Load your stiff, dry brush with your highlight color. Wipe almost all paint off on a rag. Gently drag the brush along the inside of the taped highlight edge of a rectangle.
Use very light pressure. The goal is a soft, broken line of color.
Repeat the process with your shadow color on the opposite inside edge. Let these dry. For a stronger effect, you can add a second, even lighter dry brush line right next to the first highlight.
Step 4: The Reveal and Touch-Ups
This is the moment of truth. Before your dry-brushed edges fully cure, carefully peel off the painter's tape. Pull it back on itself at a 45-degree angle.
If you see any minor bleed under the tape, immediately use a small artist's brush dipped in your base wall color to touch it up.
Step back and view the wall from the room's main entrance. The rectangles should appear to float off the surface. The success hinges entirely on the precision of your taping and the subtlety of your dry brushing.
Common Visual Mistakes That Make It Look Amateur
Knowing what not to do is as important as knowing the steps. These are the visual giveaways that a 3D paint job is a DIY attempt, not a professional finish.
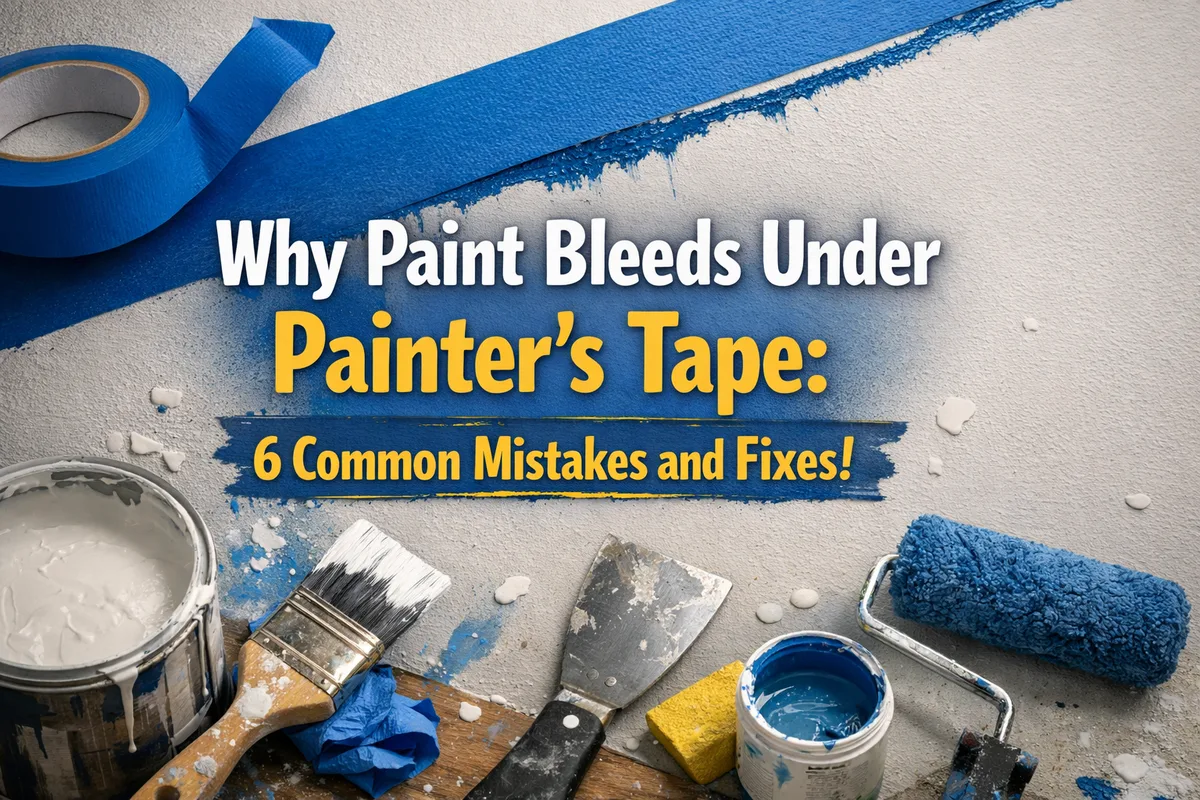
Paint Bleed Under Tape: This is the most common killer of crisp lines. It happens when tape isn't sealed properly, the wall texture is too rough, or you apply paint too heavily. The fix is using the right tape, burning the edges, and applying paint in thin coats.
Muddy or Low-Contrast Colors: If your highlight and shadow colors are too close to your base coat in LRV, the effect disappears. From a few feet away, it just looks like a dirty wall. Always test your color trio on a sample board under the room's actual lighting first.
The "Cartoon Outline" Effect: This happens when you use a regular brush to paint a solid, thick line for your highlights and shadows. It looks harsh and unnatural. The dry brush technique exists specifically to avoid this.
The highlight should be a glow, not a stripe.
Ignoring the Light Source: Your highlights and shadows must be consistent. If your light is coming from the top left for one shape, it must come from the top left for all shapes on that wall. Randomly placed highlights destroy the illusion of reality.
Overcomplicating in a Small Space: A busy, intricate 3D pattern in a small room or a pink girly bedroom can feel claustrophobic. It visually closes the space in. In small rooms, simpler, larger-scale designs or vertical patterns work better to create a feeling of height.
Is 3D Paint Right for Your Room? (Use Cases & Best Fits)
Not every wall is the ideal candidate. The room's function, size, lighting, and your existing decor dictate whether a 3D wall will be a triumph or a distraction.
Best Use Cases:
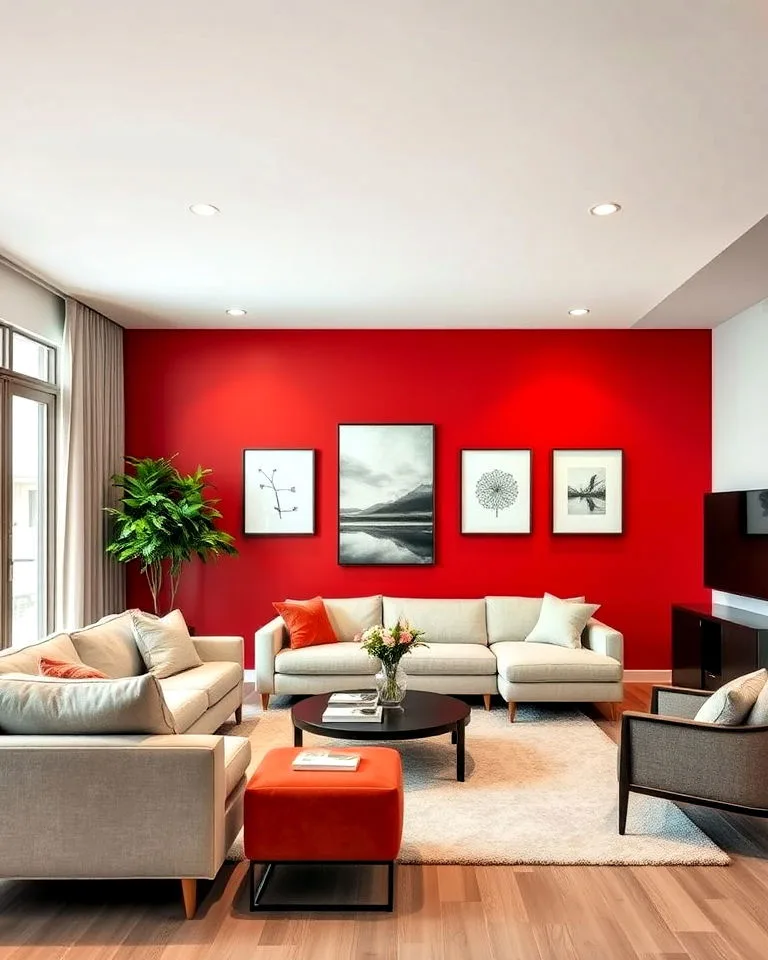
- The Single Accent Wall: This is the classic, safe application. One wall in a living room, behind a bed, or in a dining room becomes the dramatic focal point. It anchors the space without overwhelming it.
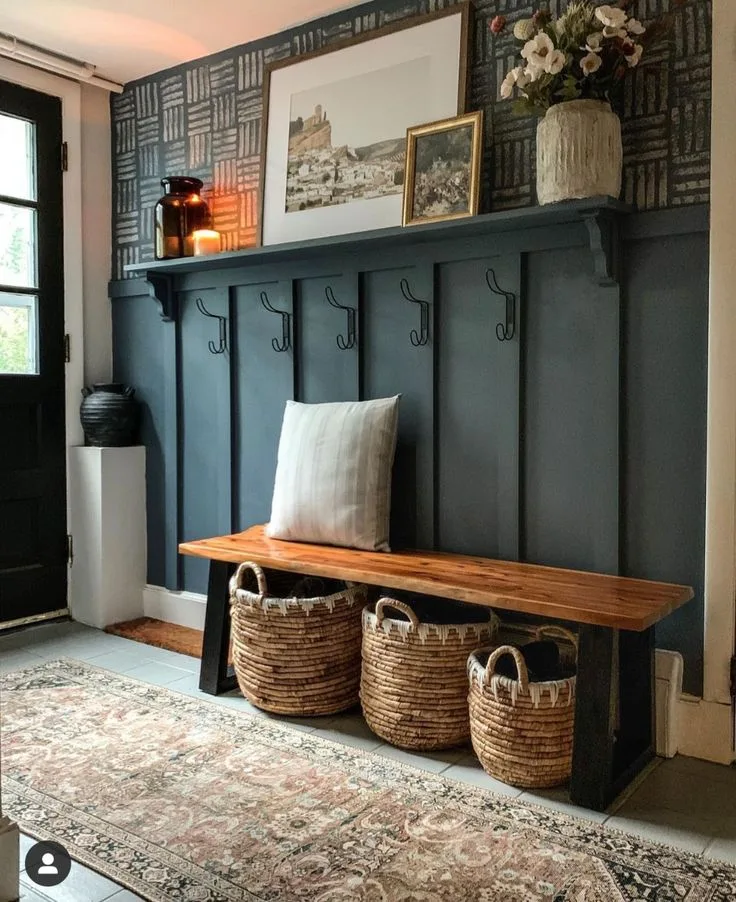
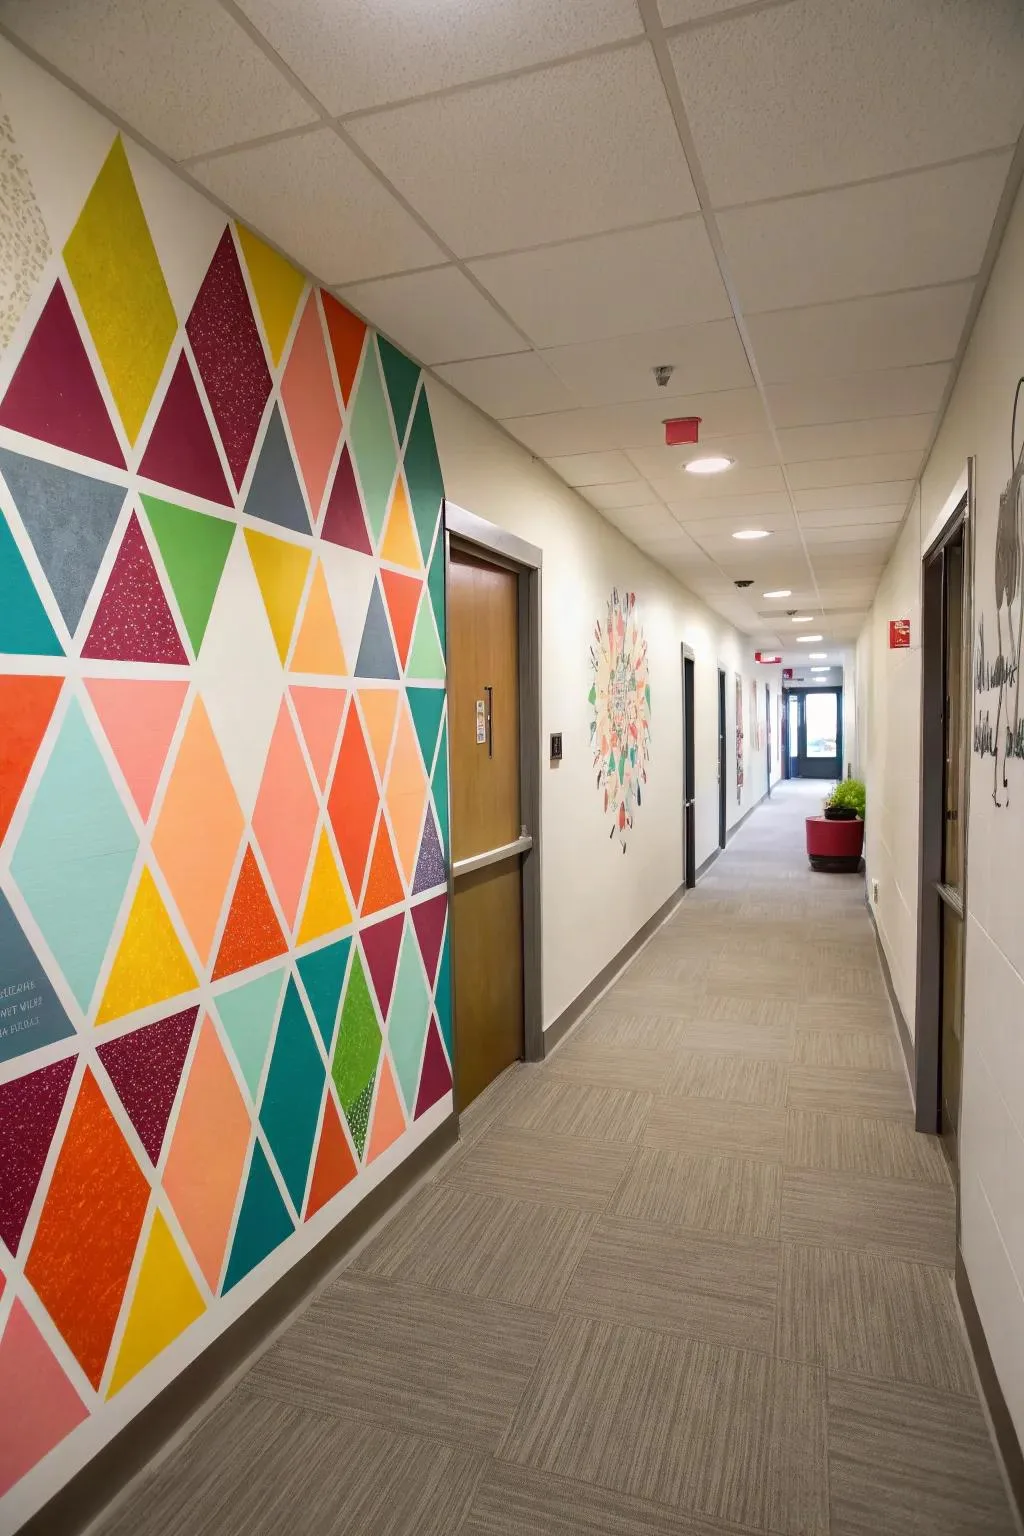
- Long Hallways or Entryways: These are often bland, tunnel-like spaces. A 3D geometric pattern can add tremendous visual interest and guide the eye down the passage. A vertical pattern can make a low ceiling feel higher.
- Commercial or Themed Spaces: Cafes, offices, or retail stores use 3D walls for strong branding or to create an immersive environment. Durability and ease of cleaning become bigger factors here.
- Children's Rooms: Fun, whimsical designs like clouds or simple cartoonish shapes are perfect here. Use highly durable, scrubbable paint.
Proceed with Caution:
- Small, Multi-Functional Rooms: In a tiny home office that's also a guest room, a bold 3D wall might make the space feel too busy and distracting for work.
- Rooms with Existing Visual Chaos: If you have patterned furniture, busy rugs, and lots of art, adding a 3D wall might create visual competition. It works best in spaces with relatively neutral, solid-color furnishings.
- Poorly Lit Rooms: The 3D effect relies on light and shadow play. In a room with a single dim overhead light, the effect can get lost. You need layered lighting (overhead, floor lamps, sconces) to make it pop.
Generally a "No":
- Entire Rooms (All Four Walls): This is almost always overkill. It can feel dizzying and imprisoning, like living inside a graphic design. The exception might be a very large, minimalist space.
- Rooms with Severe Moisture Issues: Bathrooms without proper exhaust fans or basements with dampness are poor candidates. Moisture can cause paint to peel or mold to grow behind it.
The Reality Check: Pros, Cons, and What to Expect
Let's be honest about what you're signing up for. A balanced view prevents frustration and helps you set realistic expectations for your project timeline and outcome.
The Advantages (The Pros):
- High Visual Impact, Lower Cost: Compared to architectural millwork, textured wall panels, or high-end wallpaper, paint is relatively inexpensive. The "wow" factor per dollar is very high.
- Full Creative Control: You choose the exact colors, scale, and pattern. It's a true custom design, unlike selecting from a wallpaper book.
- Great for Hiding Flaws: Textured faux finishes (like plaster or concrete) are excellent at camouflaging minor wall imperfections that a flat, solid color would highlight.
- Reversible: While it's work to paint over, it's not permanent like installing panels or tile. You can change it when you want a new look. This is a key consideration for renters looking for transformative decor who need to return the wall to a neutral state.
The Drawbacks (The Cons):
- Labor Intensive: The prep, taping, drying between coats, and detailed brushwork add up. A geometric accent wall can easily take a full weekend or more from start to finish.
- Steep Learning Curve for Perfection: Getting perfectly crisp lines and subtle blends requires practice. Your first attempt will have small flaws visible to you, even if guests don't notice.
- Physical Demands: It involves a lot of time on a ladder, reaching, and meticulous handwork. It can be tough on the back, neck, and shoulders.
- Can Date a Space: Very bold or trendy 3D designs might feel dated in a few years, whereas a classic faux finish like Venetian plaster has more longevity.
What to Realistically Expect:
- Time: For a 10'x12' accent wall with a geometric pattern, budget 12-20 hours of total work time spread over 2-3 days to account for drying.
- Cost: Materials (paint, primer, tape, tools) will likely range from $150 to $400, depending on paint quality and the size of the wall.
- Result: It will look impressive and hand-crafted, not machine-perfect. The charm is in the slight human touch, not sterile uniformity. View it from the room's main vantage point, not with your nose six inches from the wall.
How It Stacks Up: 3D Paint vs. Wallpaper vs. Panels
When you want a textured or patterned wall, paint isn't your only option. Understanding the trade-offs helps you make the right choice for your skill, budget, and vision.
| Factor | 3D Paint | Wallpaper (Textured/3D) | 3D Wall Panels (MDF, PVC, Gypsum) |
|---|---|---|---|
| Cost | Low to Medium. Cost is in labor/time. | Medium to High. Roll cost plus potential professional installation. | Medium to High. Panel cost plus adhesives/fasteners. |
| Installation Skill | Intermediate DIY. Requires painting skill and patience. | Beginner to Pro. Peel-and-stick is easy; traditional paste is harder. | Beginner to Intermediate. Often involves adhesive, leveling, and cutting. |
| Customization | Total. Unlimited colors, designs, and scales. | Limited to manufacturer's patterns and colorways. | Limited to panel shapes. Can be painted for color customization. |
| Texture & Depth | Visual illusion only, or slight texture from techniques. | Often has real, tactile texture (embossing). | Real, physical 3D depth (often 1/4" to 1" deep). |
| Durability | Good. Depends on paint quality. Can be touched up easily. | Variable. Can tear, peel in humidity, and is hard to repair. | Very High. Impact-resistant and sturdy. |
| Reversibility | Easy to paint over. | Difficult to remove; can damage drywall. | Difficult to remove; may damage wall. |
| Best For… | DIYers who want a unique, custom look and enjoy the process. | Renters (peel-and-stick) or those who want a specific, repeatable pattern quickly. | Anyone wanting dramatic, physical texture and a more "architectural" look with less artistic labor. |
The Verdict:
- Choose 3D Paint for ultimate customization, a lower material cost, and a project you enjoy doing yourself. It's the artist's choice.
- Choose Wallpaper for a specific, repeatable pattern you can't replicate by hand, or for a faster installation (especially with peel-and-stick).
- Choose 3D Panels when you want undeniable physical depth and a modern, architectural feel without the artistic execution. They create a stunning feature, like on a gaming room false ceiling or accent wall, with a different kind of labor.
Pro Tips for Texture and Maintaining the Illusion
The final touches make a professional difference. For textured faux finishes, add a thin coat of clear matte water-based polyurethane. This seals the surface, protects it from dust accumulation in the grooves, and makes it wipeable.
Dust textured walls gently with a soft brush attachment on a vacuum. Avoid abrasive scrubbing. For painted illusions, simply dust or wipe with a damp cloth as you would any other wall.
The paint itself requires no special maintenance.
If a section gets damaged, repair is straightforward. For geometric designs, carefully repaint the affected area, feathering the edges. For textured finishes, you may need to recreate the technique on the patch.
Always keep a small amount of your custom-mixed paints for touch-ups.
Safety and Practical Warnings You Shouldn’t Ignore
Always work in a well-ventilated room. Open windows and use fans to circulate air, even with low-VOC paints. Wear a basic particulate mask when sanding to avoid inhaling dust.
Secure your ladder on a flat, stable surface. Never overreach. Move the ladder frequently.
Keep drop cloths taut and secure to prevent tripping hazards. Store paint and solvents safely away from children and pets.
As mentioned, lead paint is a serious concern in older homes. If your home was built before 1978, assume paint layers may contain lead until tested. The EPA mandates specific procedures for renovation.
Disturbing lead paint without proper containment creates dangerous dust.
Your Next Step: How to Pick and Start Your Project
Start with a sample board. Get a large piece of primed drywall or thick cardboard. Practice your full technique, from base coat to final dry brush, on this board.
Live with it in the room for a day. View it in different lights.
This test tells you if your colors work, if your technique is convincing, and if you even like the result. It's the single best way to avoid a costly, disappointing mistake on your actual wall. Once you're happy with the sample, you’re ready to begin.
Frequently Asked Questions
What type of paint finish is best for 3D walls?
Matte or satin finishes are ideal. They hide wall imperfections better than gloss, reduce glare, and provide a sophisticated, velvety look that enhances depth. Eggshell can also work but may show more application flaws.
Can I paint a 3D wall over existing wallpaper?
No, you should not. Paint adhesion will be poor. The wallpaper seams will show through.
The texture will be inconsistent. Always remove wallpaper and properly prepare the drywall surface underneath first.
How long does the entire project take?
For a standard accent wall, budget 2-3 days. Day one is prep and base coating. Day two is taping, detail work, and dry brushing.
Day three is for final reveal, touch-ups, and cleanup. Drying times between coats are the critical path.
Is 3D painting a good idea for a rental?
Yes, with caveats. Use techniques that are easily painted over, like simple geometric designs. Avoid heavy textures or glazes that are harder to cover.
Always get your landlord's written permission first.
Can I use stencils for a 3D effect?
Absolutely. Stencils are excellent for repeatable patterns. Use a stencil brush and a dry-dabbing technique to apply paint.
This creates a textured, built-up look that naturally has shadow and dimension.
How do I clean a textured 3D wall?
Dust regularly with a soft brush. For marks, use a slightly damp microfiber cloth and gently blot. Avoid abrasive scrubbers or harsh chemicals.
For sealed textured finishes, you can use a mild cleaner.