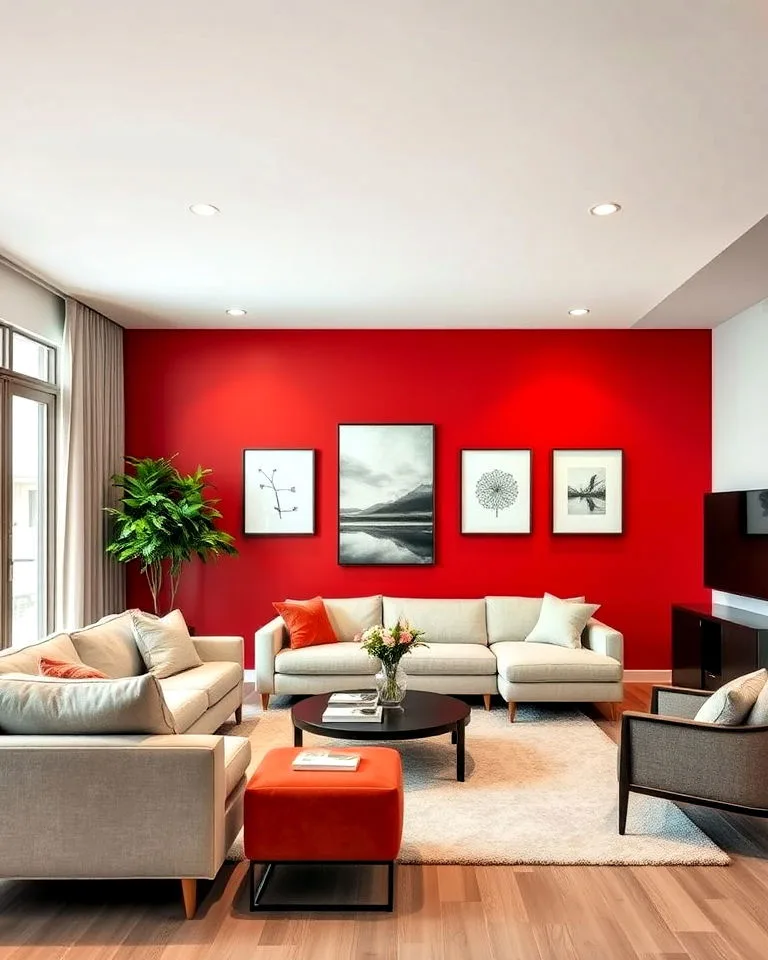
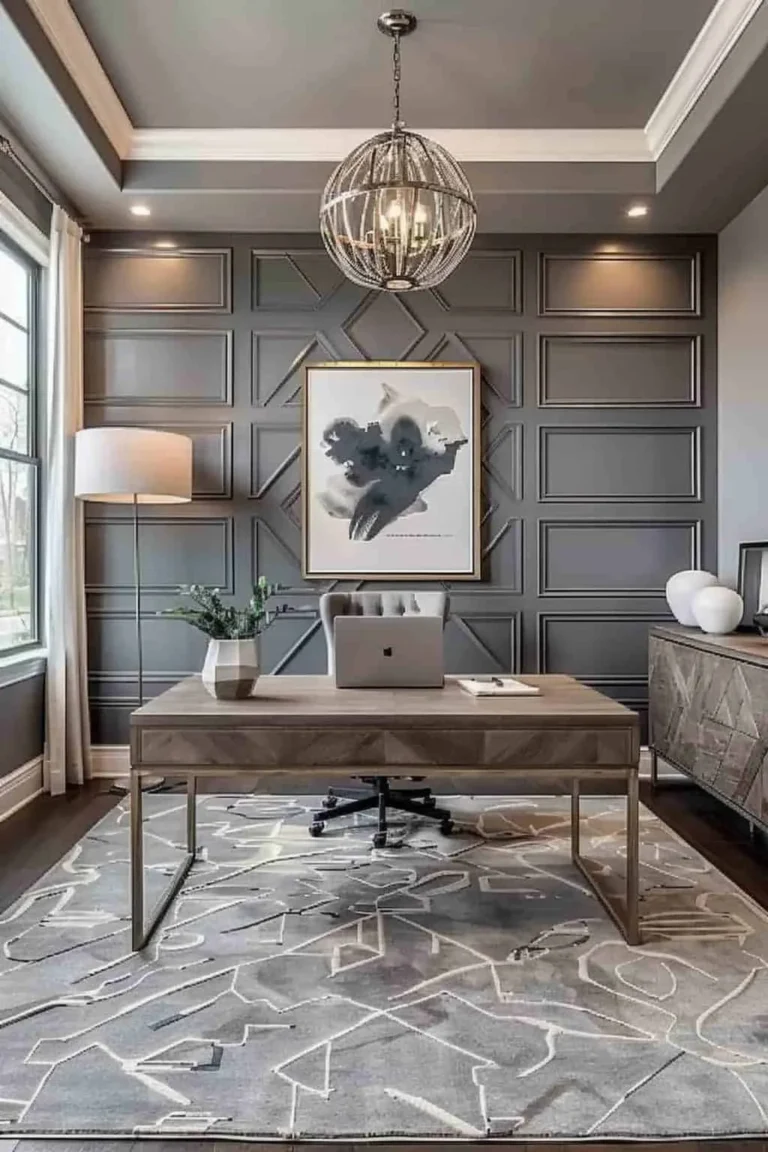
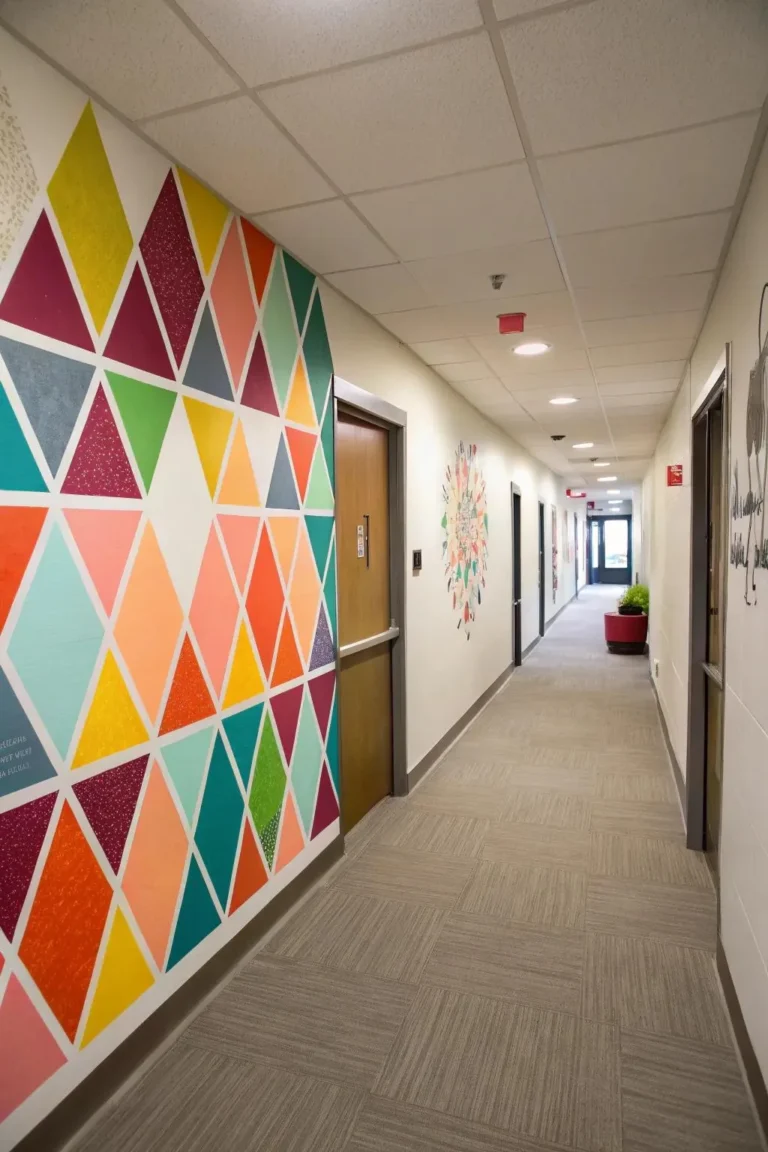
Living Room Wall Painting Update: Fresh Color Ideas to Transform Your Space
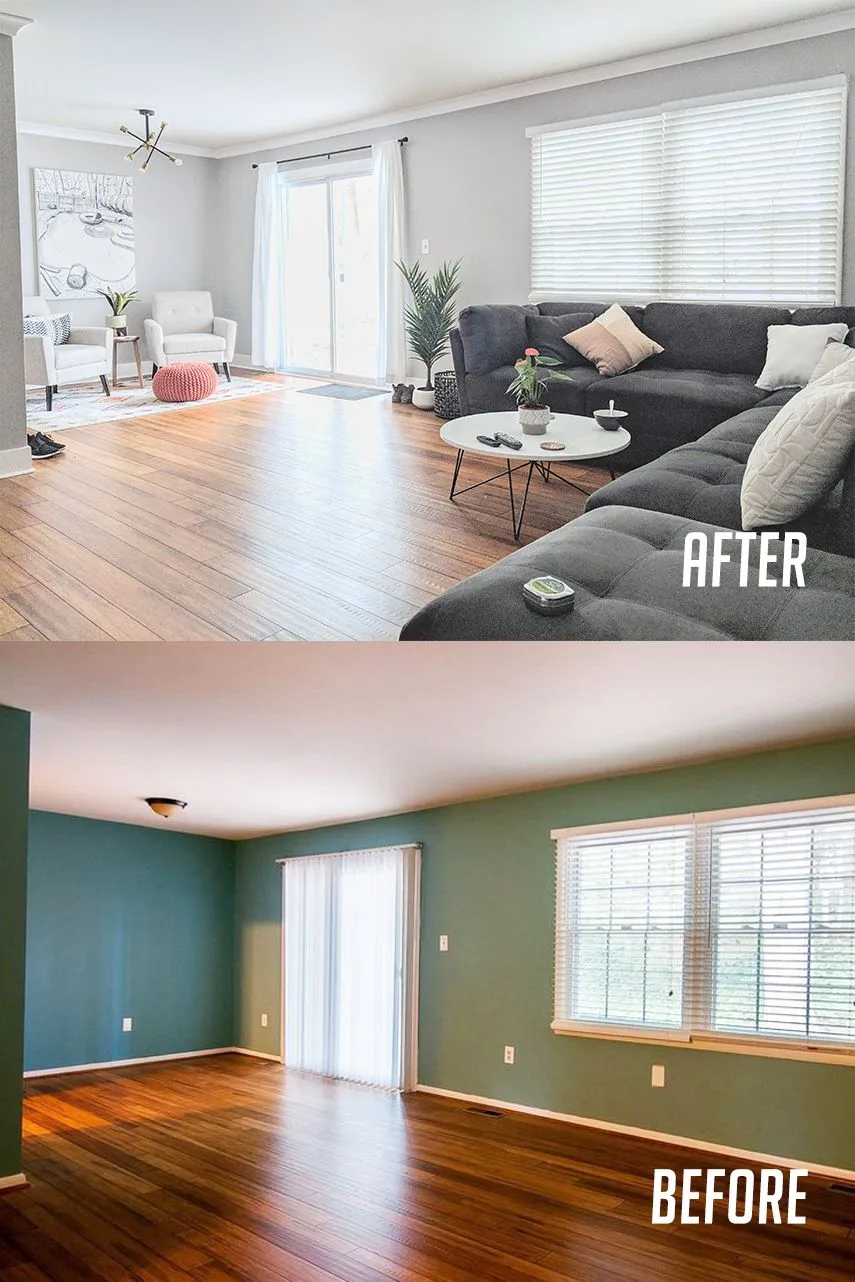
That feeling when you walk into your living room and it just doesn’t ‘spark’ anymore? The walls feel tired, the color might be dated, and the whole space needs a lift. A living room wall painting update is the single most impactful, cost-effective change you can make to a home’s interior.
It’s a project that transforms mood, light, and style without a major renovation.
The trick is navigating the dozens of small decisions that make the difference between a result you love and one that feels ‘off.’ From our research, the core process, prep, prime, paint, is straightforward. But the planning phase, where you match your goals to your specific room, is where the magic happens. Let’s walk through the decision points that will get you to a perfect, personal result.
Quick Answer
Update your living room walls by first assessing your room’s condition and light. Always fix holes and clean walls before painting. Choose a color by testing large swatches on the wall at different times of day.
Use two coats of quality paint for full coverage. The right sheen balances looks and cleanability. Proper prep avoids most common painting mistakes.
The Painter’s Crossroads: Figuring Out Your Living Room Paint Update
Think of this as your personal project flowchart. Your living room isn’t a blank canvas in a showroom. It has existing furniture, specific lighting, and a life you live in it.
The right path for your paint update depends entirely on your starting point.
If your walls are in rough shape, with cracks or multiple colors, your project is heavy on prep. If you’re painting over a light, smooth wall with a similar color, it’s a weekend refresh. If your room gets little natural light, your color choice becomes critical to avoid a cave-like feel.
Every choice from here branches from these initial conditions.
Our research into aggregate DIYer feedback shows that skipping this situational assessment is the top reason for project frustration. A plan built for your actual room, not a generic one, sets you up for success from the first brush stroke.
Start Here: The First Question That Changes Everything
What’s your primary goal? Your answer dictates your entire scope, budget, and effort level.
Is this a quick refresh to cover scuffs and brighten the space? Is it a full style overhaul to match new furniture or a different design vibe, like a transition to a moody blue bedroom? Are you preparing your home for sale, where you’d choose universally appealing, neutral tones?
- For a Quick Refresh: Your path is simple. You can likely use a paint-and-primer in one product. You’ll focus on cleaning walls thoroughly and doing minimal patching. This is a one-weekend project.
- For a Style Overhaul: You need to think about color psychology, how the new hue flows into adjoining spaces, and whether you need an accent wall. Testing becomes non-negotiable. Budget more time for color selection and potentially for multiple coats if you’re going from dark to light.
- For Resale: Neutral, light-reflective colors are king. Eggshell or satin sheens are preferred for their wide appeal and cleanability. The goal is a bright, blank canvas that makes the room feel larger and lets buyers envision themselves in it.
Nail down your “why” first. It makes every subsequent decision clearer and stops you from second-guessing your color choice at the hardware store.
What’s Your Room’s “Before” Condition? The Prep Work Decider
This step is non-negotiable. The final look of your paint is 90% determined by what’s underneath it. Grab a flashlight and take a close look at your walls.
Assess and fix these common issues first:
- Nail holes, dings, or cracks: Fill them with a lightweight spackle. For hairline cracks, use a paintable caulk. Sand smooth once dry.
- Glossy or semi-gloss surfaces: Paint won’t stick well. You must dull the sheen with fine-grit sandpaper or use a dedicated bonding primer.
- Water stains or smoke marks: These will bleed through new paint. Seal them with an oil-based or shellac-based stain-blocking primer.
- Wall texture: If you have heavily textured “popcorn” or orange-peel walls, rolling will maintain it. If you want a smoother look, that’s a major skim-coating project best left to pros.
- Dirt and grease: Especially near light switches and in high-traffic areas. Wash walls with a trisodium phosphate (TSP) substitute or a mild detergent solution. Rinse and let dry completely.
Skipping prep because you’re eager to see color on the walls is the most common regret. Paint magnifies flaws; it doesn’t hide them. A clean, sound, dull surface is the only guarantee for professional-looking, long-lasting results.
Choosing Your Color: It’s Not Just About the Swatch
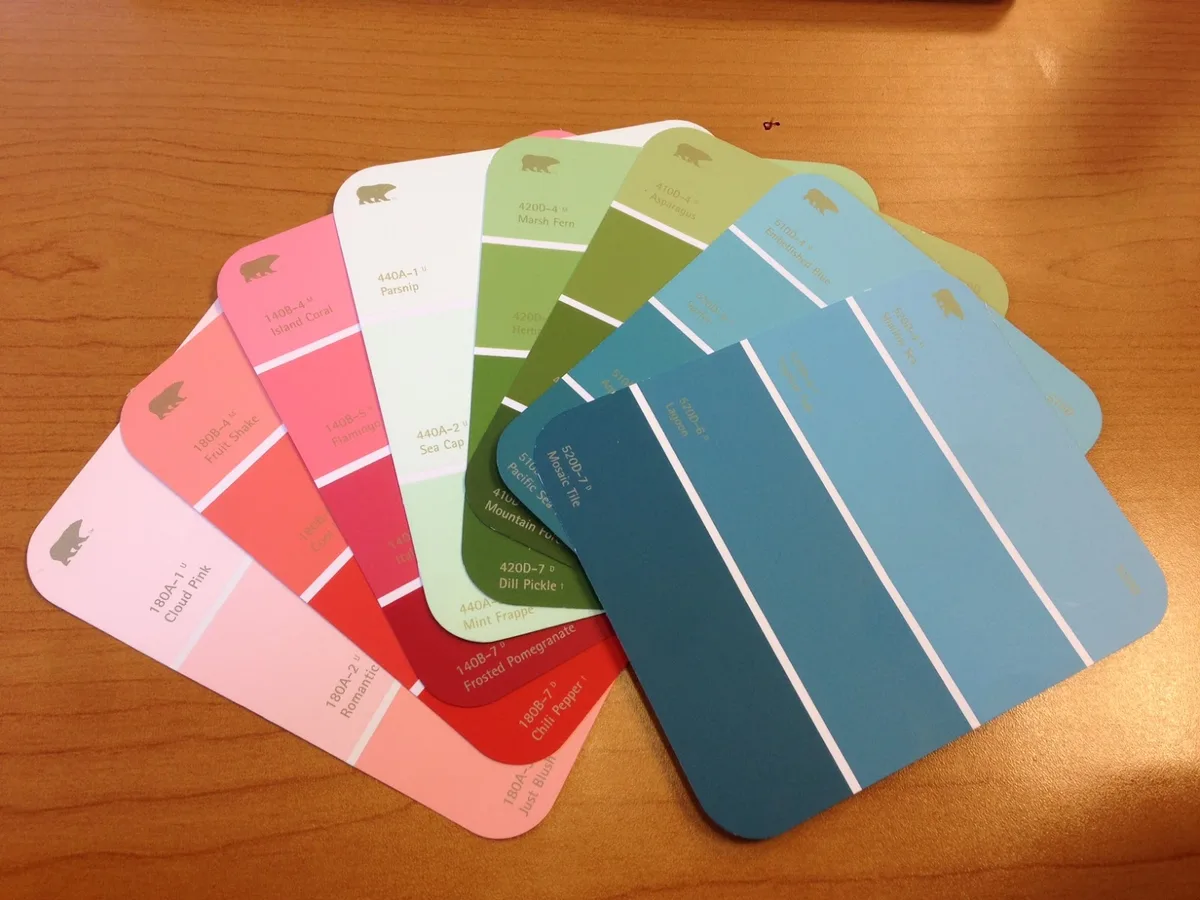
Standing in the paint aisle with a fan deck of a thousand colors is overwhelming. The tiny swatch tells you almost nothing about how the color will feel on your wall. Light, both natural and artificial, transforms paint color.
Your action plan for choosing the right color:
- Narrow it down at the store. Pick 2-4 shades you’re drawn to in your desired family (e.g., warm grays, creamy whites, sage greens).
- Buy sample pots. This is the best $5-$8 you’ll spend. Never choose a gallon based on a 1-inch swatch.
- Paint large test patches. Paint at least a 2-foot by 2-foot square directly on your wall. Do this in two different spots: one in direct sunlight and one in a shadowy corner.
- Live with it for 48 hours. Look at the patches in morning, noon, and evening light. See how they look with your lamps on at night. Notice how they interact with your fixed elements: flooring, fireplace stone, and window trim.
Pro Tip: Look up the color’s Light Reflectance Value (LRV). This number, usually on the paint brand’s website, tells you how much light a color reflects. As of 2026, most paint manufacturers list this.
A higher number (above 50) means a lighter, brighter color. A lower number (below 30) is darker and moodier. In a north-facing room with little light, a color with a very low LRV can feel oppressive.
This process saves you from the dreaded “it looked so different on the card” syndrome. It connects your color choice to the reality of your living room’s unique environment. For more on creating a specific atmosphere, you can explore ideas for an earthy moody bedroom to understand how deep tones work in low-light settings.
The Paint Sheen Decision: From Cozy to Durable
Sheen (or finish) is about light reflection and durability, not just shine. Your choice here has a huge impact on the room’s final feel and how it will wear over time.
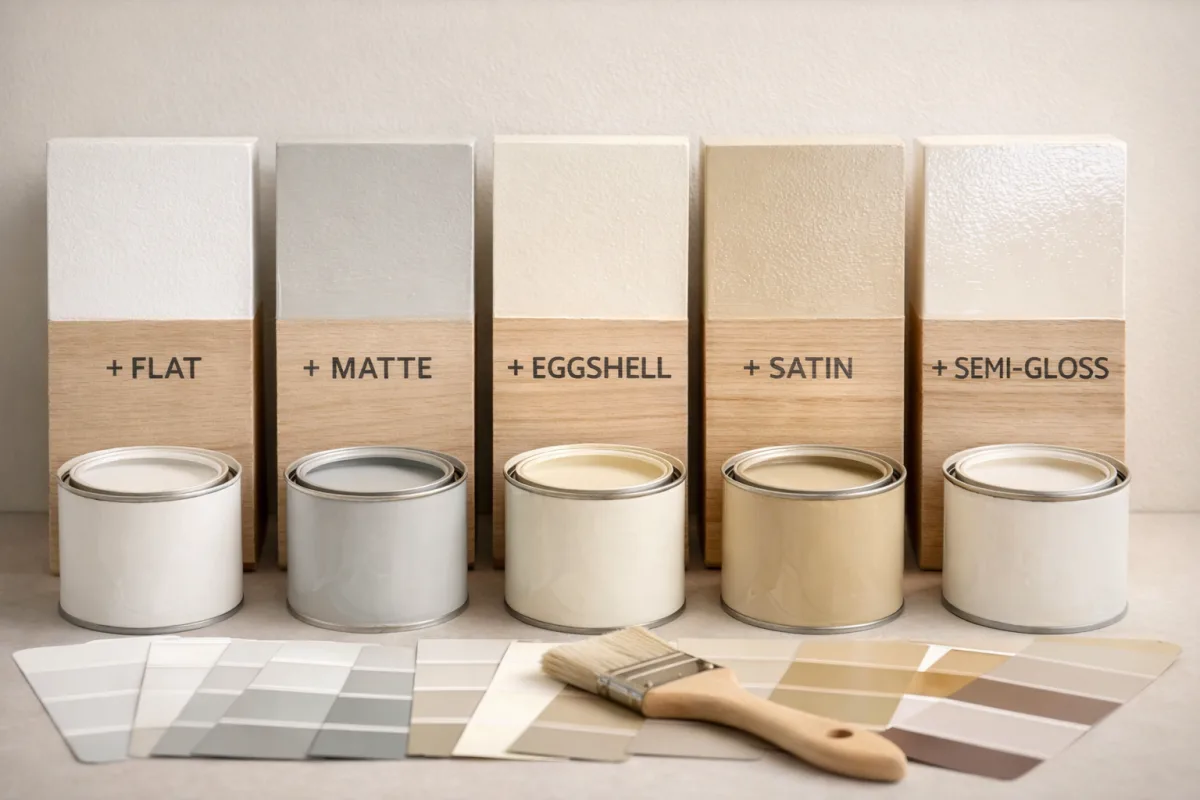
Here’s a breakdown of the common sheens and where they work best in a living room:
| Sheen | Look & Feel | Durability & Cleanability | Best For in Living Room |
|---|---|---|---|
| Flat/Matte | Non-reflective, velvety. Hides wall imperfections best. | Least durable. Difficult to clean without damaging finish. | Low-traffic, adult-only living rooms. Ceilings. Creating a cozy, sophisticated vibe. |
| Eggshell | Very slight, soft luster (like an eggshell). | More durable than flat. Can withstand gentle wiping. | The most popular living room choice. Great balance of cozy look and practical cleanability. |
| Satin | A soft, pearl-like glow. | Highly durable and easily washable. Shows application flaws more than eggshell. | Family rooms, kids’ play areas, or any high-traffic living space. Trim and doors. |
| Semi-Gloss | Clearly shiny and reflective. | Very tough and scrubbable. Highlights every wall imperfection. | Trim, molding, doors, and cabinetry. Rarely recommended for full living room walls. |
Your Decision Flow:
- If your walls have flaws and you want a cozy, forgiving look -> Choose Eggshell.
- If you have young kids or pets and need washability -> Choose Satin.
- If you want ultimate richness and don’t mind careful cleaning -> Choose Flat (in a low-traffic area).
- For trim and doors to make them stand out -> Choose Semi-Gloss.
Manufacturer specifications confirm that higher-sheen paints have a harder, more tightly bonded surface, which is why they clean so well. But that same property makes brush and roller marks more visible during application. It’s the classic trade-off.
Your DIY Tool Kit: What to Buy vs. What to Skip
You don’t need a professional painter’s full arsenal, but skimping on the basics guarantees a frustrating job. Think of your tools as an investment that makes the process smoother and the finish better.
The Must-Have Essentials:
- High-Quality Roller Frame and Covers: A sturdy metal frame won’t bend. For covers, get a medium nap (3/8 inch) for smooth walls and a longer nap (1/2 inch) for textured walls. Buy one for primer and a fresh one for your topcoat.
- Angled Sash Brush (2-2.5 inch): This is your workhorse for “cutting in” edges. The angled bristles give you control for crisp lines where walls meet trim and ceilings.
- Paint Tray and Liner: Disposable plastic liners save massive cleanup time. Tear them out and toss them when you’re done.
- Painter’s Tape: For clean edges on trim, windows, and ceilings. Look for a brand known for clean release, like FrogTape or 3M’s delicate surface tape.
- Drop Cloths: Canvas is best as it absorbs spills and stays put. Plastic is slippery and can be a hazard.
- Five-in-One Tool: For prying open paint cans, scraping off drips, and hammering lid nails back in.
What You Can Skip or Borrow:
- Paint Sprayer: For most interior wall jobs, a sprayer is overkill. It creates massive overspray, requires extensive masking, and is harder for beginners to control for an even coat.
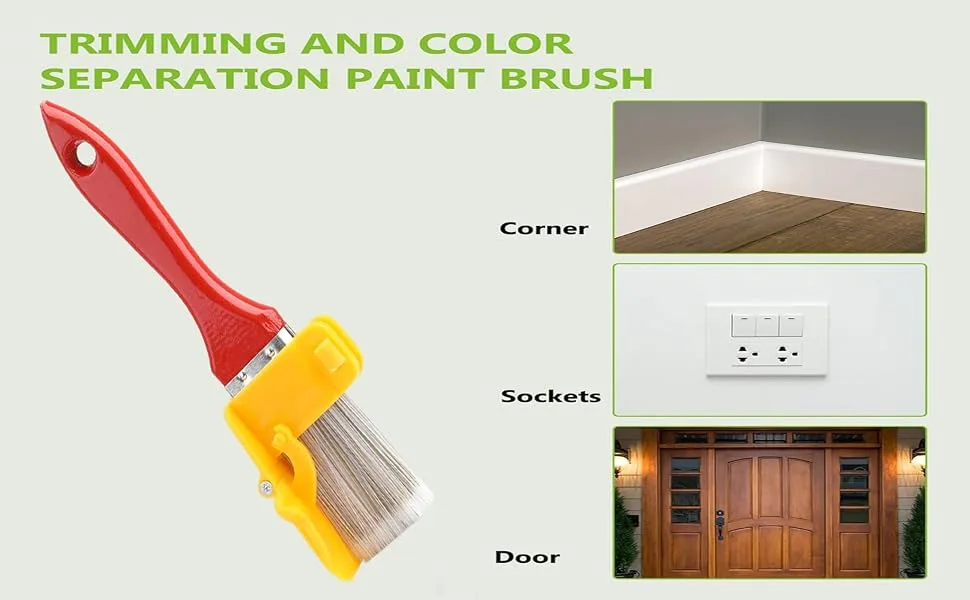
- Specialty Edgers: These plastic tools with a pad or wheel promise tape-free straight lines. Aggregate reviews indicate they often leak paint behind the pad, creating a messy line. Mastering the angled brush is a more reliable skill.
- Expensive Ladders: A simple, sturdy step stool is usually enough for living room walls. Only rent or buy an extension ladder if you have vaulted ceilings.
Your tool choice directly impacts ease and finish. A cheap brush sheds bristles into your paint. A flimsy roller leaves stipple marks.
Investing about $50-$75 in good-quality basics pays off in a professional-looking result you’ll enjoy for years.
The Professional Option: When It’s Smarter to Hire Out
Painting is labor-intensive. There are clear scenarios where hiring a professional painter is the smarter, more cost-effective choice. It’s not an admission of defeat, it’s a strategic decision based on your situation.
Hire a pro if:
- Your ceilings are very high (over 10 feet) or vaulted. This requires specialized scaffolding and ladders, posing a significant fall risk.
- You have extensive wall damage like large cracks, water damage, or need for skim coating. Pros can repair and prep efficiently.
- The room has intricate trim, built-ins, or multiple doors. Cutting in on detailed millwork is time-consuming and requires a steady hand.
- Your time is extremely limited and you need the project done in 1-2 days, not over multiple weekends.
- You are painting dark, bold colors. Professionals have the techniques and products to ensure even coverage with fewer coats, often saving you money on paint.
What to expect cost-wise: Editorial analysis of 2026 market rates shows professional interior painting ranges from $3 to $7 per square foot. For a standard 12×18 foot living room (approx. 432 sq ft of wall space), that’s roughly $1,300 to $3,000. This typically includes all labor, materials, and cleanup.
Get at least three detailed written estimates. They should specify prep work, number of coats, brand and product line of paint, and a clear timeline. A reputable pro will not pressure you to choose the cheapest paint.
The Core Workflow: A Step-by-Step Paint Job Map
Once your plan is set and your tools are ready, this is the execution sequence. Follow it in order to avoid backtracking and mistakes.
Phase 1: Empty and Protect (Day 1)
Move all furniture to the center of the room and cover it with plastic sheeting. Remove outlet covers, switch plates, and curtain rods. Lay canvas drop cloths over the entire floor, tucking edges under baseboards.
Apply painter’s tape to the edges of trim, windows, and ceilings. Use the back of a putty knife to burnish the tape edge for a tight seal.
Phase 2: Prep the Walls (Day 1)
This is where you execute your assessment from earlier. Fill holes, sand patches smooth, and wash walls. Let everything dry completely.
If needed, apply primer to stained areas or glossy surfaces and let it dry per the can’s instructions.
Phase 3: Paint (Day 2)
Start with your ceiling and trim if they’re being painted a different color. Then, tackle the walls.
- Cut in: Using your angled brush, paint a 2-3 inch band along all taped edges (ceiling, corners, trim). Do this for the entire room.
- Roll the walls: Pour paint into your lined tray. Load the roller evenly. Paint in a 3-foot square “W” or “M” pattern, then fill it in without lifting the roller. This avoids streaks. Always maintain a “wet edge.” Work top to bottom, corner to corner.
- Let the first coat dry completely. Refer to the paint can, but most latex paints need 2-4 hours.
- Apply the second coat. Repeat the cut-in and roll process. Two thin coats are always better than one thick, gloopy coat.
Phase 4: Cleanup and Reveal (Day 3)
Carefully remove the painter’s tape at a 45-degree angle before the paint is fully cured (check can for timing, often 1-24 hours). Clean brushes and rollers thoroughly with soap and water for latex paint. Reinstall switch plates and outlet covers.
Move furniture back, but avoid scuffing the walls for at least a week as the paint fully cures.
Cost & Time Expectations: Budgeting Your Weekend
Let’s attach real numbers to the plan so there are no surprises. These are 2026 estimates based on average national pricing for mid-grade materials.
The DIY Budget Breakdown:
| Item | Average Cost | Notes |
|---|---|---|
| Paint | $40 – $70 per gallon | Expect 1 gallon per 400 sq ft of wall area. Two coats means you need 2x your wall square footage divided by 400. |
| Primer | $25 – $40 per gallon | Needed only for stains, drastic color changes, or unprimed drywall. |
| Brushes, Rollers, Trays | $40 – $70 | One-time investment for quality tools you can reuse. |
| Tape, Drop Cloths, Spackle | $30 – $50 | Consumables for this project. |
| Total for a 12×18 ft room | $250 – $500 | Highly variable based on paint quality and wall condition. |
The DIY Timeline:
- Day 1 (Evening): 2-3 hours for moving furniture, taping, and patching holes.
- Day 2: 4-6 hours for cutting in and applying the first coat. A break for drying, then 3-4 hours for the second coat.
- Day 3: 1 hour for cleanup and moving furniture back.
That’s a solid weekend project. Add an extra day if your prep is extensive or if you need to prime. Factor in drying time.
Rushing coats is the main cause of paint peeling or not adhering properly.
Common Pitfalls (And How to Sidestep Them Completely)
Knowing the common mistakes lets you avoid them. Here’s what goes wrong most often and the expert fix.
The Cutting-In Conundrum
The Pitfall: Painting a wavy, uneven line where the wall meets the ceiling or trim. Or, paint bleeding under the tape, creating a fuzzy edge.
The Sidestep: Use the right brush and technique. A quality angled sash brush holds more paint and gives better control. Don’t overload it.
Use the tip of the brush and pull it steadily along the edge. For tape, burnish it down firmly and remove it at the right time, before the paint forms a hard film.
The Dreaded Roller Marks
The Pitfall: Seeing obvious stipple patterns, streaks, or “holidays” (missed spots) on the wall.
The Sidestep: Never roll over an area that has started to dry. Keep a wet edge. Use the “W” pattern to distribute paint evenly, then fill it in without lifting the roller.
Don’t press too hard. A properly loaded roller should do the work.
Sample Pots Are Your Secret Weapon
The Pitfall: The color looks perfect on the chip but wrong on your wall.
The Sidestep: We said it earlier, but it’s the number one color regret. Buy the sample pot. Paint a large swatch.
Observe it for two full days. This small step prevents the $200 mistake of buying gallons of the wrong color.
Underestimating Drying and Curing Time
The Pitfall: Putting furniture back too soon and leaving scuff marks, or applying a second coat before the first is dry, causing peeling.
The Sidestep: Paint is touch-dry in a few hours but takes about 30 days to fully cure and reach maximum hardness. Respect the recoat time on the can (usually 2-4 hours). Wait at least a week before leaning furniture against the walls or cleaning them.
Not Using Enough Paint
The Pitfall: Stretching one gallon to cover a room that needs two, resulting in thin, patchy coverage.
The Sidestep: Calculate your square footage accurately (length x height of each wall, minus large windows/doors). Divide by the coverage number on your paint can (around 400). Then, buy that many gallons for two coats.
It’s better to have a little left over for touch-ups than to run out on a Sunday evening.
Safety & Prep You Can’t Ignore
A successful project is also a safe one. The U.S. Environmental Protection Agency (EPA) provides clear guidance for homes built before 1978 where lead paint is a risk.
If your home is from that era, assume paint layers contain lead.
Disturbing lead paint by sanding or scraping creates hazardous dust. For pre-1978 homes, use lead-safe work practices or hire an EPA-certified renovator. For all homes, ensure good ventilation by opening windows and using fans.
Wear a dust mask when sanding and safety glasses to protect your eyes from drips. Keep your ladder stable and never overreach.
FAQs: Your Real-World Questions, Answered
How long should I wait before hanging pictures?
Wait at least 24 hours for the paint to dry to the touch. For best results, wait a full week for the paint to cure before putting nails in the wall or leaning furniture against it. This prevents marks and damage.
Can I paint over dark colors with a light one?
Yes, but you will likely need more than two coats. Using a high-quality primer tinted to a light gray can help block the old color and reduce the number of topcoats needed.
What’s the difference between paint with primer and separate primer?
Paint-and-primer combos are designed for minor color changes and walls in good condition. Separate, dedicated primer is necessary for sealing stains, covering glossy surfaces, or making a drastic color shift (like red to white).
Is it okay to paint in high humidity?
It’s not ideal. High humidity slows down paint drying, which can cause runs, drips, and poor adhesion. Check your paint can’s specifications for ideal temperature and humidity ranges.
Running a dehumidifier can help.
Do I need to sand walls before repainting?
You only need to sand if the existing surface is glossy or has imperfections. The goal is to create a slightly rough “tooth” for the new paint to grip. Always sand, then wipe away all dust with a damp cloth before painting.
How do I clean painted walls later?
Use a soft sponge or cloth with warm water and a mild, non-abrasive detergent. Gently wipe the area. Avoid harsh scrubbing, especially on flat or matte finishes, as you can damage the paint film.
The Final Decision Guide: Your Personal Action Plan
Let’s tie everything together. Start at the top and follow the path that matches your situation.
If your walls are in good shape and you just want a refresh:
- Choose a color close to your current one.
- Use a paint-and-primer combo in an eggshell sheen.
- Clean walls, do light patching, and apply two coats over a weekend.
If your walls have stains, are glossy, or you’re making a big color change:
- Choose your new color and buy sample pots.
- Do full prep: clean, patch, sand glossy areas, and apply a dedicated primer.
- Use quality tools and apply two topcoats of paint in your chosen sheen.
If your room has high ceilings, major damage, or your time is limited:
- Get three written estimates from professional painters.
- Review their prep plans and paint specifications.
- Hire the pro whose plan aligns with your goals and budget.
Your living room update is a series of small, manageable choices. By assessing your room first and following a clear workflow, you’ll end up with a beautiful, durable result that feels entirely yours.